1. Destpêk
This manual provides essential information for the proper installation, operation, and maintenance of your LC-Power FHD 32 inch 165Hz Curved Gaming Monitor (Model: LC-M32-FHD-165-C-A). Please read this manual thoroughly before using the product to ensure optimal performance and safety.

Wêne 1.1: Pêşî view of the LC-Power 32-inch curved gaming monitor.
2. Agahiyên Ewlekariyê
Ji bo rêgirtina li zirara li monîtorê û misogerkirina ewlehiya bikarhêner, tedbîrên ewlehiyê yên jêrîn bişopînin:
- Monîtorê li ber baran, şilbûn, an germahiyên zêde nehêlin.
- Li dora monîtorê hewakirineke guncaw peyda bikin. Deriyên hewakirinê negirin.
- Tenê adaptora hêzê ya ku bi monîtorê re tê bikar bînin.
- Ji danîna tiştên giran li ser kabloya elektrîkê dûr bixin.
- Disconnect the power cable from the outlet during lightning storms or when unused for extended periods.
- Do not attempt to repair the monitor yourself. Refer all servicing to qualified personnel.
3. Naveroka pakêtê
Piştrast bike ku hemî tişt di pakêtê de hene:
- LC-Power 32 inch Curved Gaming Monitor
- Standê Monîtorê (Bingeh û Stû)
- Adaptora Hêzê û Kabloya Hêzê
- Cable HDMI
- Manual Bikarhêner
- Vîde ji bo Montajkirina Standê
4. Sazkirin
4.1 Civîna Stand
- Monîtorê bi baldarî ji pakêta wê derxin, li ser rûyekî nerm bihêlin.
- Attach the stand neck to the monitor panel using the provided screws.
- Connect the stand base to the stand neck and secure it with the remaining screws.
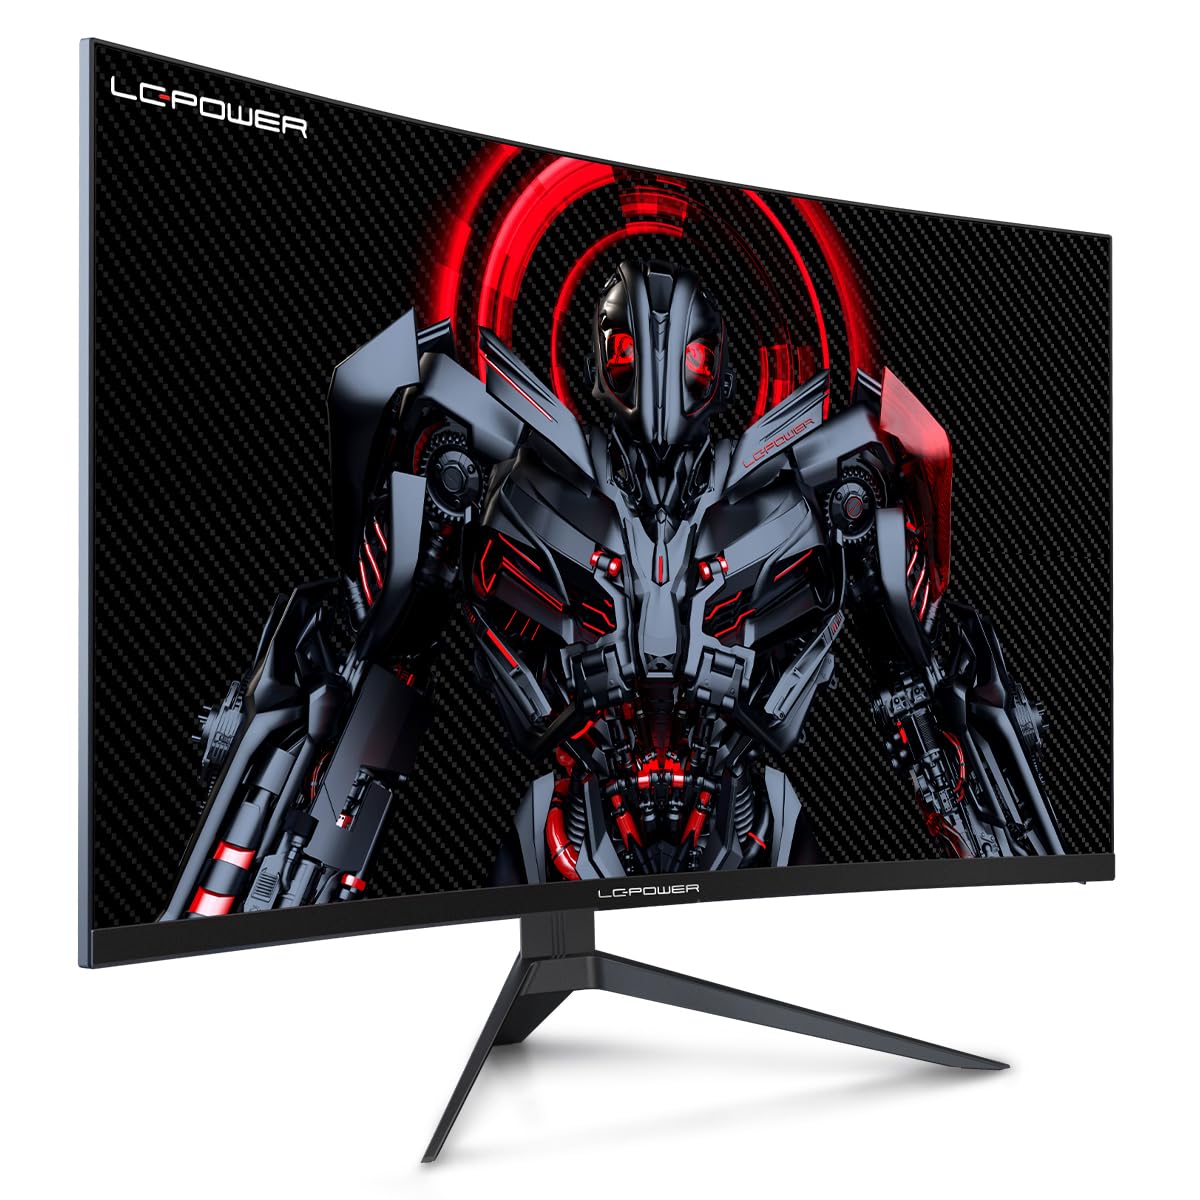
Figure 4.1: LC-Power monitor with stand assembled.
4.2 Kabloyên Girêdayî
Kabloyên pêwîst bi portên paşîn ên monîtorê ve girêdin:
- Erk: Adaptora hêzê bi têketina DC ya monitorê ve girêbide û dû re jî bi priza hêzê ve girêbide.
- Ketina Vîdyoyê: Connect an HDMI or DisplayPort cable from your computer's graphics card to the corresponding port on the monitor.

jimar 4.2: Paş view ya monitorê bi portên têketinê.
4.3 VESA Mounting (Optional)
The monitor supports VESA 100x100mm mounting. To use a VESA mount, remove the stand and attach the monitor to a compatible VESA bracket using appropriate screws (not included).
5. Telîmatên Operating
5.1 Power On / Off
Press the power button, typically located on the back or bottom of the monitor, to turn the monitor on or off. The power indicator light will illuminate when the monitor is on.
5.2 Menûya Nîşandana Li Ser Ekranê (OSD)
The OSD menu allows you to adjust various monitor settings. Use the control buttons (joystick or individual buttons) on the monitor to navigate the menu.
Mîhengên hevpar ên OSD:
- Mîhengên Wêne: Ronahî, berevajî, tûjbûn û germahiya rengan eyar bike.
- Hilbijartina têketinê: Bi destî di navbera têketinên HDMI û DisplayPort de biguherîne.
- Deng: Adjust volume if external speakers are connected via the monitor's audio output.
- Mîhengên lîstikê: Access features like Overdrive, GamePlus (crosshair overlays), FPS/RTS modes, and Adaptive Sync.
- Mîhengên Nîşandanê: Adjust aspect ratio, resolution, and refresh rate. Ensure your graphics card is configured to output 1920x1080 resolution at 165Hz for optimal performance.
- Low Blue Light & Flicker-Free: These features are designed to reduce eye strain during prolonged use. They can be enabled or disabled in the OSD menu.
6. Maintenance
6.1 Paqijkirina Monitor
- Beriya paqijkirinê her gav çavdêriyê ji pêvekê derxin.
- Kîçek nerm, bêpişk bi kar bînin dampbi avê an jî bi paqijkerek nerm û neaşêrîn a ekranê were paqijkirin.
- Paqijker rasterast li ser ekranê nerijînin.
- Avoid using benzene, thinner, or ammonia-based cleaners.
6.2 Storage
If storing the monitor for an extended period, disconnect all cables, pack it in its original packaging, and store it in a cool, dry place away from direct sunlight.
7. Destpêkirin
Ji bo pirsgirêkên hevpar û çareseriyên wan li tabloya jêrîn binêre:
| Pirsegirêk | Sedema gengaz | Çare |
|---|---|---|
| Li ser dîmenderê wêneyek tune | Power cable disconnected; Video cable disconnected; Incorrect input selected | Check power and video cable connections; Select correct input via OSD menu |
| Wêne lerizî | Faulty video cable; Graphics card driver issue; Refresh rate mismatch | Replace video cable; Update graphics drivers; Set refresh rate to 165Hz in OS display settings |
| Reng xelet xuya dikin | Color settings in OSD; Graphics card settings | Adjust color settings in OSD; Calibrate colors via graphics card control panel |
| Monîtor vênake | Power cable not connected; Power adapter faulty | Ensure power cable is securely connected; Test power outlet; Contact support if adapter is suspected faulty |
8. Specifications
Detailed technical specifications for the LC-Power LC-M32-FHD-165-C-A monitor:
| Taybetî | Specification |
|---|---|
| Nîşan | LC-Power |
| Cins | LC-M32-FHD-165-CA |
| Mezinahiya Screen | 32 Inches |
| Çareserkirina Screen | 1920 x 1080 (FHD 1080p) |
| Refresh Rate | 165 Hz |
| Dema bersivê | 1 Mîlyoserk |
| Curvature | 1500R |
| Aspect Ratio | 16:9 |
| Display Technology | LCD |
| Viewing Angle | 178 Dereceyan |
| Navrûya Alavê | HDMI, DisplayPort |
| Taybetmendiyên Taybet | Curved, Flicker-Free, Low Blue Light, GamePlus, Overdrive, FPS/RTS |
| Compatibility VESA | 100x100mm |
| Mezinahiya Hilberê | 14.3 x 53.8 x 40.6 cm (L x W x B) |
| Babetê Weight | 8.24 kg |
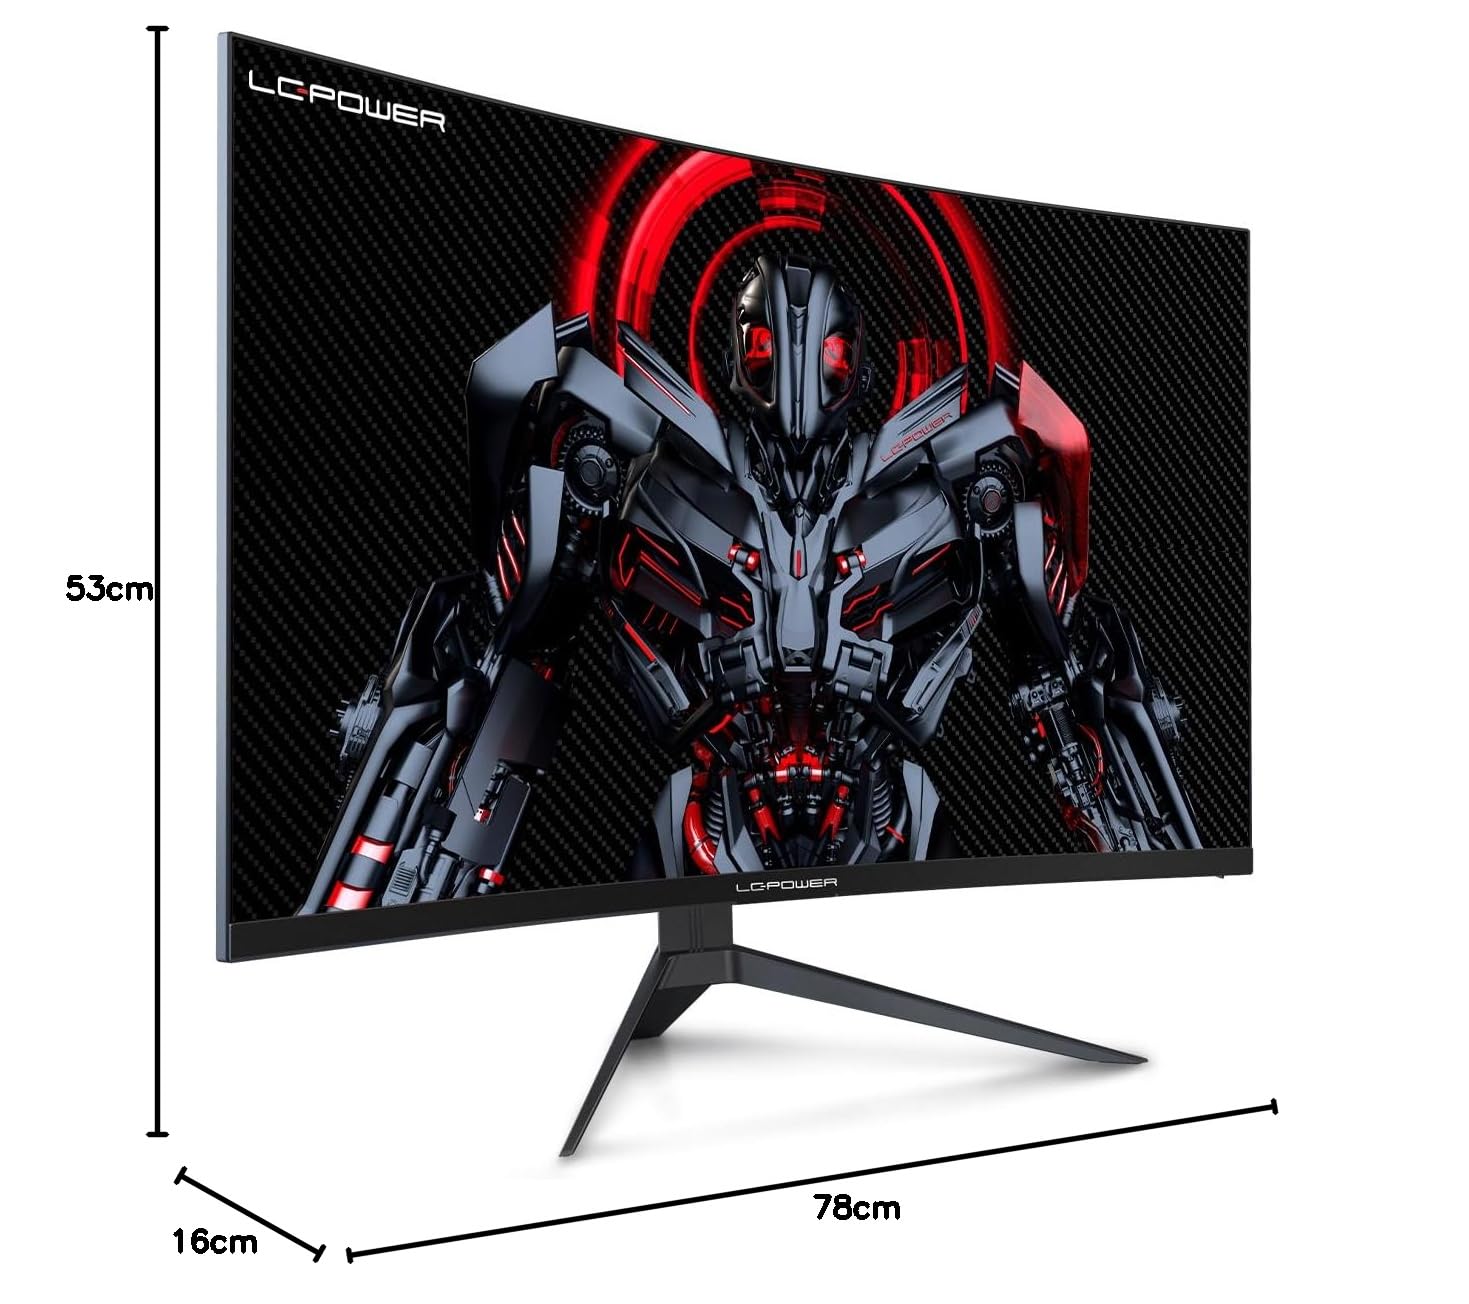
Figure 8.1: Monitor dimensions for planning installation space.
9. Garantî û Piştgirî
LC-Power provides a three-year warranty for this product. Additionally, a twelve-month replacement service is available. For technical assistance or inquiries regarding damage, defects, or missing parts, please contact LC-Power customer support. Telephone technical support is also available.


