1. Destpêk
The Saramonic Blink 100 B6 is an ultra-portable 2-person wireless microphone system designed to deliver broadcast-quality sound. It is compatible with USB-C enabled devices such as Android phones, iPhone 15, newer iPads, and computers. This system is ideal for video recording, streaming, and various audio applications, offering ease of use and reliable performance.
2. Naveroka pakêtê
Ji kerema xwe piştrast bikin ku hemî tiştên ku li jêr hatine navnîş kirin di pakêta we de hene:
- 2 x Blink 100 TX Transmitters
- 1 x Blink 100 RXUC Receiver (USB-C)
- 2 x Furry Windscreens
- 2 x USB-A to USB-C Charging Cables
- 1 x Doza Hilgirtina
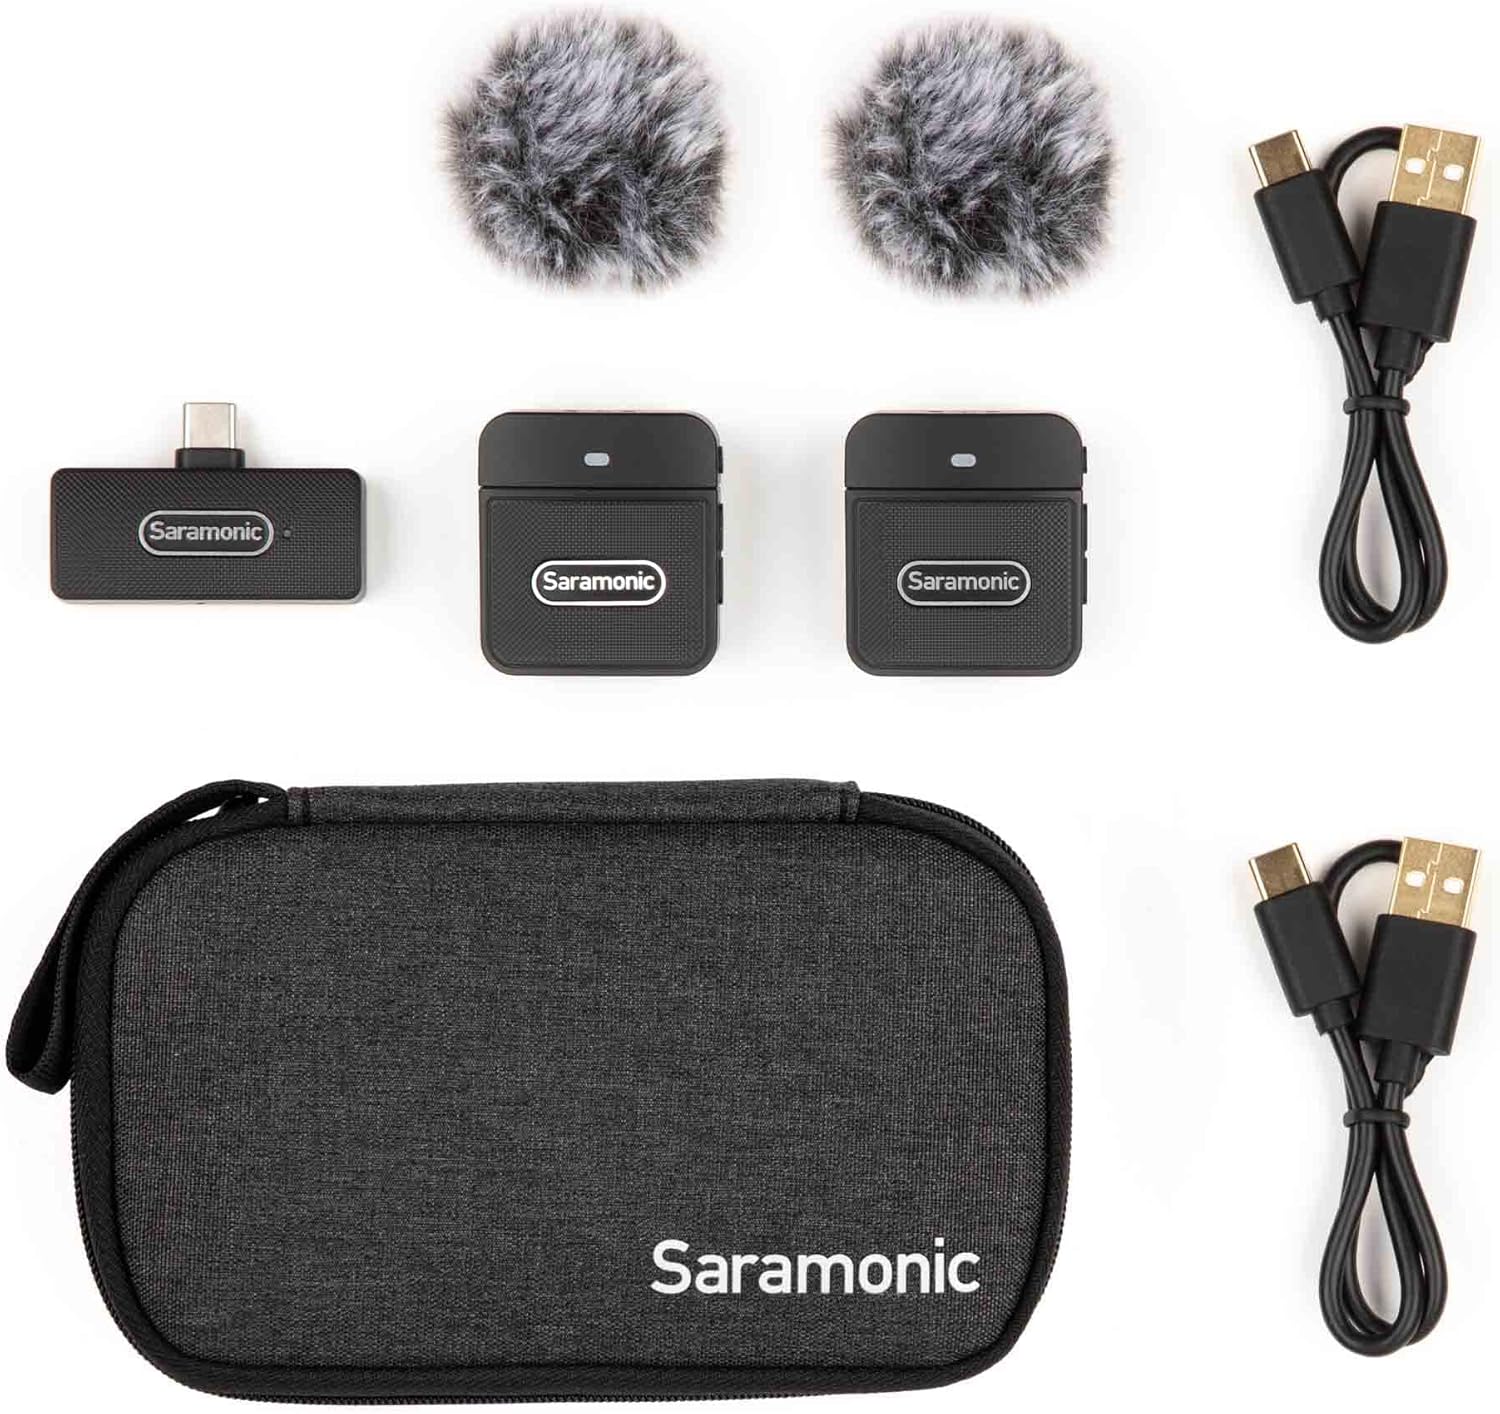
Image: Saramonic Blink 100 B6 system components and accessories neatly arranged in their carrying case.
3. Hilbera Serîview
3.1. Blink 100 TX Transmitter
- Mîkrofona çêkirî: Features an omnidirectional microphone for clear audio capture.
- Perçeya bayê furry: Reduces wind noise in outdoor environments.
- Active Noise Cancellation (NR): Selectable feature to minimize ambient background noise.
- Kontrolkirina Gain: 12-step microphone gain adjustment for optimal audio levels.
- Fonksiyona Bêdengiyê: One-touch button to quickly mute the microphone.
- Sêwirana Clip-On: Lightweight and compact for easy attachment to clothing.
- Porta barkirinê ya USB-C: Ji bo ji nû ve şarjkirina bataryaya navxweyî.

Wêne: Pêşî view of the Blink 100 TX transmitter with its furry windscreen.
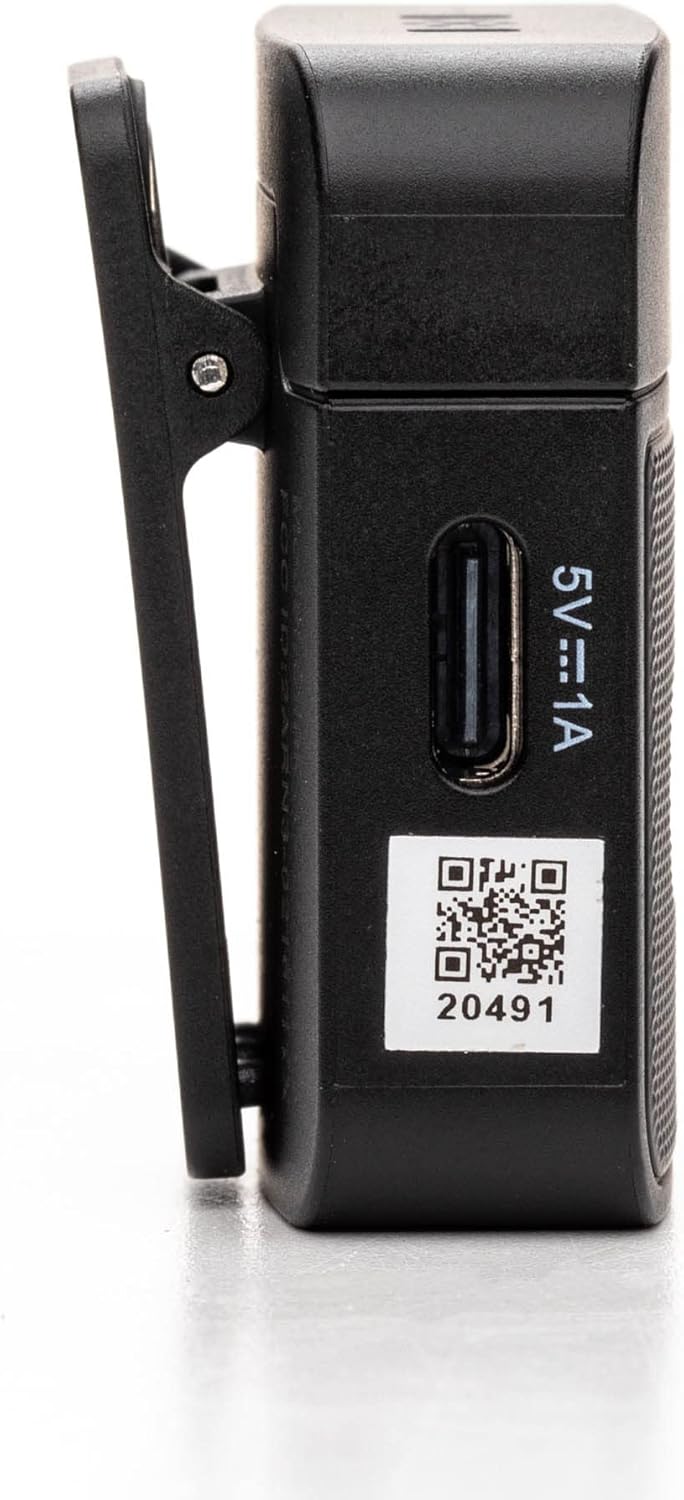
Wêne: Alî view of the Blink 100 TX transmitter, highlighting the control buttons.
3.2. Blink 100 RXUC Receiver
- Têkiliya USB-C: Plugs directly into your compatible device.
- Xebata Bê Baterî: Powered directly by the connected device.
- USB-C Through Port: Allows simultaneous charging of the host device or connection of other USB-C peripherals.

Image: Close-up of the Blink 100 RXUC receiver, showing its USB-C connector and passthrough port.

Image: All main components of the Blink 100 B6 system: two transmitters and one receiver.
4. Guide Setup
4.1. Charging the Transmitters (TX)
- Connect the supplied USB-A to USB-C charging cables to the USB-C charging ports on both TX transmitters.
- Plug the USB-A ends of the cables into a USB power adapter (not included) or a computer's USB port.
- The indicator light on the TX will show charging status. A full charge provides approximately 10 hours of operation.
4.2. Connecting the Receiver (RXUC)
- Plug the Blink 100 RXUC receiver directly into the USB-C port of your smartphone, tablet, or computer.
- The receiver is battery-free and will draw power from your device.
- If your device requires charging during use, you can connect a USB-C charging cable to the RXUC's passthrough port.

Image: The Blink 100 RXUC receiver connected to a smartphone, ready for use.
4.3. Hevberdana Otomatîk
The Blink 100 system is designed for automatic pairing. Once the TX transmitters are powered on and the RXUC receiver is connected to your device, they should automatically establish a connection. The indicator lights on both units will confirm a successful connection.
4.4. Attaching the Transmitters
- Clip the TX transmitter to your clothing, such as a collar or lapel, ensuring the built-in microphone faces the sound source.
- For optimal audio quality, attach the furry windscreen to the TX transmitter, especially when recording outdoors or in windy conditions.

Image: A person demonstrating how to clip the Blink 100 TX transmitter to clothing.
5. Telîmatên Operating
5.1. Hêzdarkirina / Off
- Hêzdarkirin: Press and hold the power button on the TX transmitter for a few seconds until the indicator light illuminates.
- Hêzdarkirin: Press and hold the power button on the TX transmitter until the indicator light turns off.
5.2. Fonksiyon Mute
Press the MUTE button on the TX transmitter once to mute or unmute the microphone. The indicator light will change to show the mute status.
5.3. Kontrolê bi dest bixin
Use the '+' and '-' buttons on the side of the TX transmitter to adjust the microphone gain (volume level). There are 12 steps of adjustment to fine-tune your audio input.
5.4. Active Noise Cancellation (NR)
Press the NR button on the TX transmitter to activate or deactivate the active noise cancellation feature. This helps to reduce unwanted background noise, providing clearer audio in noisy environments.
5.5. Recording with Your Device
Once the RXUC receiver is connected and the TX transmitters are paired, open your preferred audio or video recording application on your device. The system will automatically be recognized as the audio input source. Begin recording as usual.

Image: A user recording video with a smartphone and the Blink 100 B6 system.
6. Maintenance
6.1. Paqijkirin
- Wipe the units with a soft, dry cloth.
- Kîmyewî û paqijkerên hişk bikar neynin.
- Ensure the furry windscreens are clean and free of debris for optimal performance.
6.2. Storage
- Store the system in the provided carrying case when not in use to protect it from dust and damage.
- Keep the units in a cool, dry place, away from direct sunlight and extreme temperatures.
6.3. Lênêrîna Pîl
- For prolonged storage, charge the TX transmitters to approximately 50% every three months to maintain battery health.
- Avoid fully discharging the batteries frequently.
7. Destpêkirin
- Deng tune an dengek kêm:
- Ensure both TX transmitters are powered on and paired with the RXUC receiver.
- Check the gain level on the TX transmitters using the '+' button.
- Verify that the TX transmitter is not muted.
- Confirm that your recording device's volume is turned up and the Blink 100 system is selected as the audio input.
- Interference or Dropouts:
- Ensure the TX transmitters and RXUC receiver are within the specified operating range (up to 164 feet/50m line-of-sight).
- Avoid obstacles between the transmitter and receiver.
- Minimize interference from other wireless devices operating on similar frequencies. The system features automatic channel switching to mitigate this.
- Nehevkirin:
- Power cycle both the TX transmitters and the RXUC receiver (by unplugging and replugging).
- Ensure the TX transmitters are sufficiently charged.
- Amûr Wergir Nas Nake:
- Ensure your device's operating system and recording application are up to date.
- Verify that your device supports external USB-C audio input.
- Biceribînin ku amûrê xwe ji nû ve bidin destpêkirin.
8. Specifications
| Taybetî | Hûrî |
|---|---|
| Hejmara Model | BLINK100B6 |
| Faktora Forma Mîkrofonê | Handheld, Mini (Clip-On) |
| Pattern Polar | Omnidirectional |
| Teknolojiya Girêdanê | Wireless (USB-C) |
| Type Connector | USB Type-C |
| Amûrên Lihevhatî | Smartphone, Tablet, PC (with USB-C) |
| Modelên Têlefonên Hevgirtî | Android, iPhone 15 |
| Range Operating | Up to 164 feet (50m) line-of-sight |
| TX Battery Run Time | Heta 10 saetan |
| Rêjeya îşaret-bi-deng | 78 dB |
| Mal | Pîlastîk |
| Reng | Reş |
| Babetê Weight | 6.3 ons (0.18 Kilogram) |
| Mezinahiyên hilberê (L x W x H) | 3.74 x 2.32 x 6.38 inches |
9. Garantî û Piştgirî
For warranty information, technical support, or service inquiries, please contact Saramonic customer support directly. You can find contact details and additional resources on the official Saramonic webmalperê an jî bi rêya firoşkarê xwe.
Serdan bikin Saramonic Store Ji bo bêtir hilber û agahdarî li ser malperan bigerin.


