
Caroma D1 (B0FSZZL7PR)
Caroma Electric Scooter D1 User Manual
Model: D1 (B0FSZZL7PR) | Brand: Caroma
1. Destpêk
Welcome to the Caroma Electric Scooter D1 user manual. This manual provides essential information for the safe operation, maintenance, and troubleshooting of your new electric scooter. Please read this manual thoroughly before using the scooter to ensure optimal performance and safety.

Figure 1: Caroma Electric Scooter D1 - General View (Animated)
2. Hişyariyên Ewlekariya Girîng
Neşopandina van rêwerzên ewlehiyê dikare bibe sedema birîndarbûna giran an mirinê.
- Dema ajotinê, her tim kaskê û alavên ewlehiyê yên guncaw (parêzvanên çokan, parêzvanên enîşkan) li xwe bikin.
- Di şert û mercên şil, barana dijwar, an jî di nav çeman re siwar nebin.
- Avoid riding on uneven surfaces, loose gravel, or slippery terrain.
- Berî her ajotinê, piştrast bikin ku hemî bolt û girêker hişk in.
- Ji kapasîteya barkirinê ya herî zêde ya 300 lbs (136 kg) derbas nebe.
- Di dema siwarbûnê de herdu destên xwe li ser destan bihêlin.
- Xwe bi qanûn û rêziknameyên herêmî yên di derbarê karanîna scooterên elektrîkê de nas bikin.
- Divê zarok tenê di bin çavdêriya mezinan de scooter bikar bînin.
3. Setup û Meclîsa
Your Caroma Electric Scooter D1 comes partially assembled. Follow these steps for final assembly and initial setup:
- Vekirin: Hemû pêkhateyan bi baldarî ji pakêtê derxînin. Di dema veguhastinê de ji bo zirara wan kontrol bikin.
- Sazkirina Handlebar: Attach the handlebar to the main stem. Ensure it is securely fastened with the provided bolts. The handlebar is designed to fold for transport; ensure it is locked in the upright position before riding.
- Rêzkirina kursiyê: Adjust the seat height to a comfortable riding position. Ensure the quick-release lever or bolts are securely tightened.
- Pêveka sepetê: Secure the rear carry basket to the designated mounting points using the provided hardware.
- Inflationa Tire: Inflate the 14-inch fat tires to the recommended pressure (check tire sidewall for PSI). The tires are air-filled for better shock absorption.
- Kontrolkirina Frenê: Test both front and rear disc brakes to ensure they are functioning correctly. Adjust brake tension if necessary.
- Xerca destpêkê: Fully charge the scooter before its first use. Refer to the "Charging" section for detailed instructions.
Vîdyoya 1: Serview of the Caroma D1 Electric Scooter, demonstrating its features and design. This video is provided by the seller and offers a visual guide to the product.
4. Telîmatên Operating
To operate your Caroma Electric Scooter D1, follow these steps:
- Hêzdarkirin: Insert the key into the ignition located near the battery compartment and turn it to the "ON" position. The battery level indicator on the handlebar will light up.
- Kontrola Germê: The scooter features a twist-grip throttle on the right handlebar. Gently twist the throttle towards you to accelerate.
- Braking: Use the brake levers on both handlebars to slow down or stop. The scooter is equipped with dual mechanical disc brakes for effective stopping power. The rear tail light will illuminate brighter when brakes are applied.
- Ronahî: Press the headlight button on the left handlebar to turn the front headlight and rear tail light on/off.
- Zengil: Use the bell on the left handlebar to alert pedestrians or other riders.
- Mekanîzmaya Pevçûn: To fold the handlebar for transport, locate the folding latch near the base of the handlebar stem. Disengage the latch and fold the handlebar down. Ensure it is securely latched when unfolded for riding.
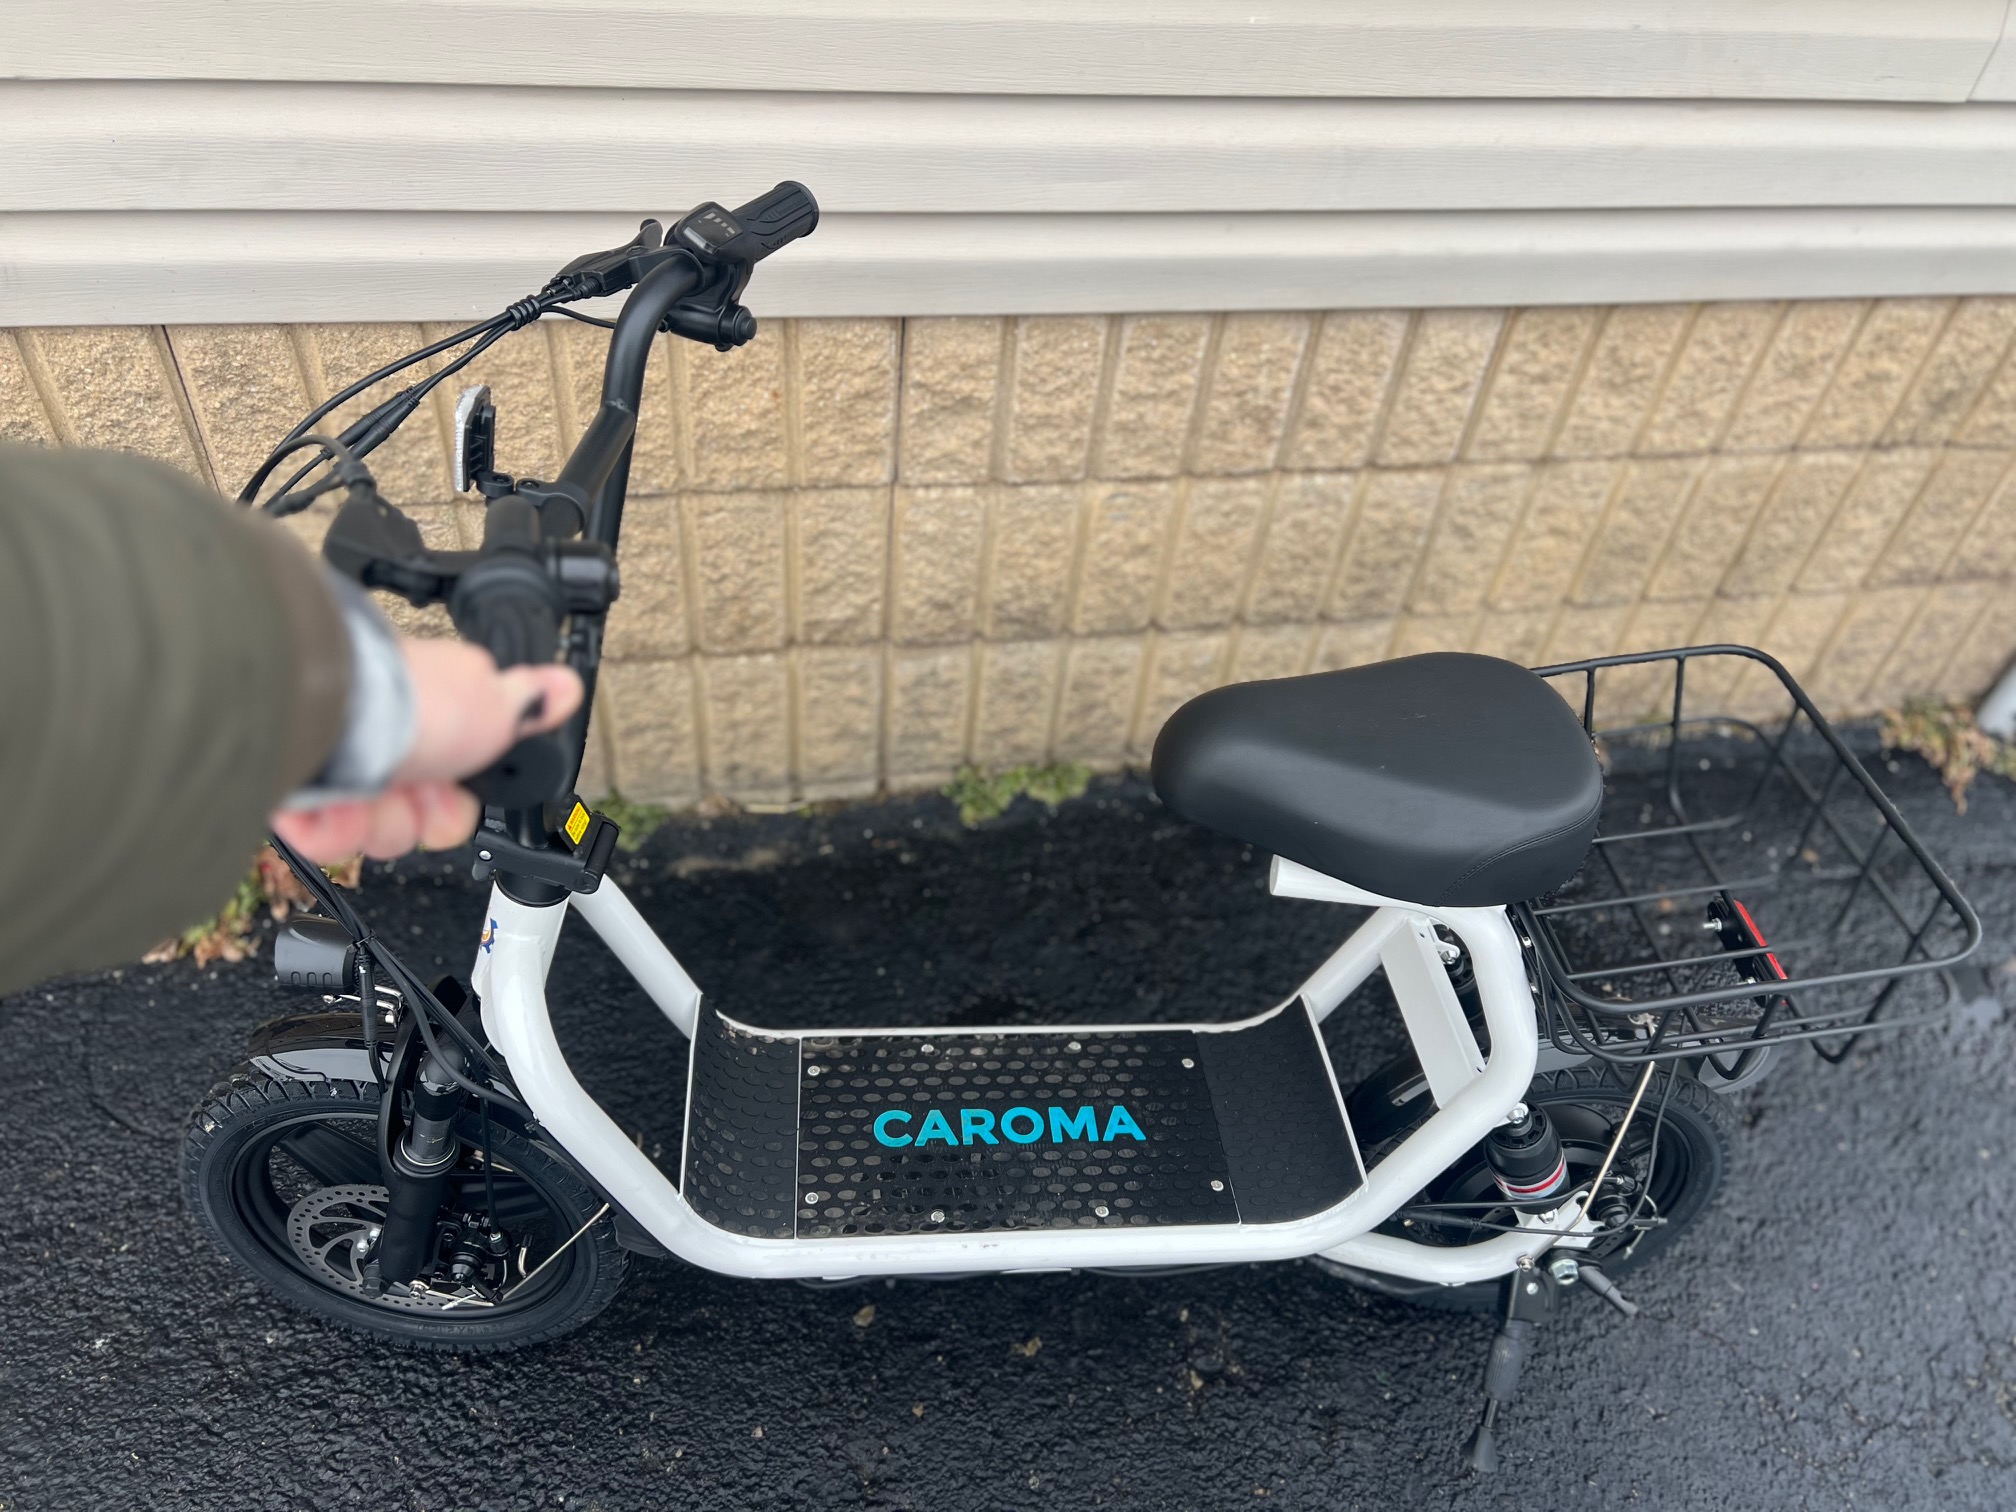
Figure 2: Handlebar Controls and Battery Indicator (Illustrative)
5. Barkirina Pîl
To charge your Caroma Electric Scooter D1:
- Piştrast bikin ku scooter jê veqetandî ye.
- Locate the charging port on the side of the battery compartment, near the ignition key.
- Şarjêrê bi porta şarjê ve girêdin, paşê şarjêrê bi prizek dîwar a standard ve girêdin.
- Ronahiya nîşander a li ser şarjkerê bi gelemperî di dema şarjkirinê de sor xuya dike û dema ku bi tevahî şarj dibe kesk dibe.
- Dema şarjkirinê ji bo şarjkirinek tevahî nêzîkî 7-8 demjimêran e.
- Always use the original charger provided with your scooter.
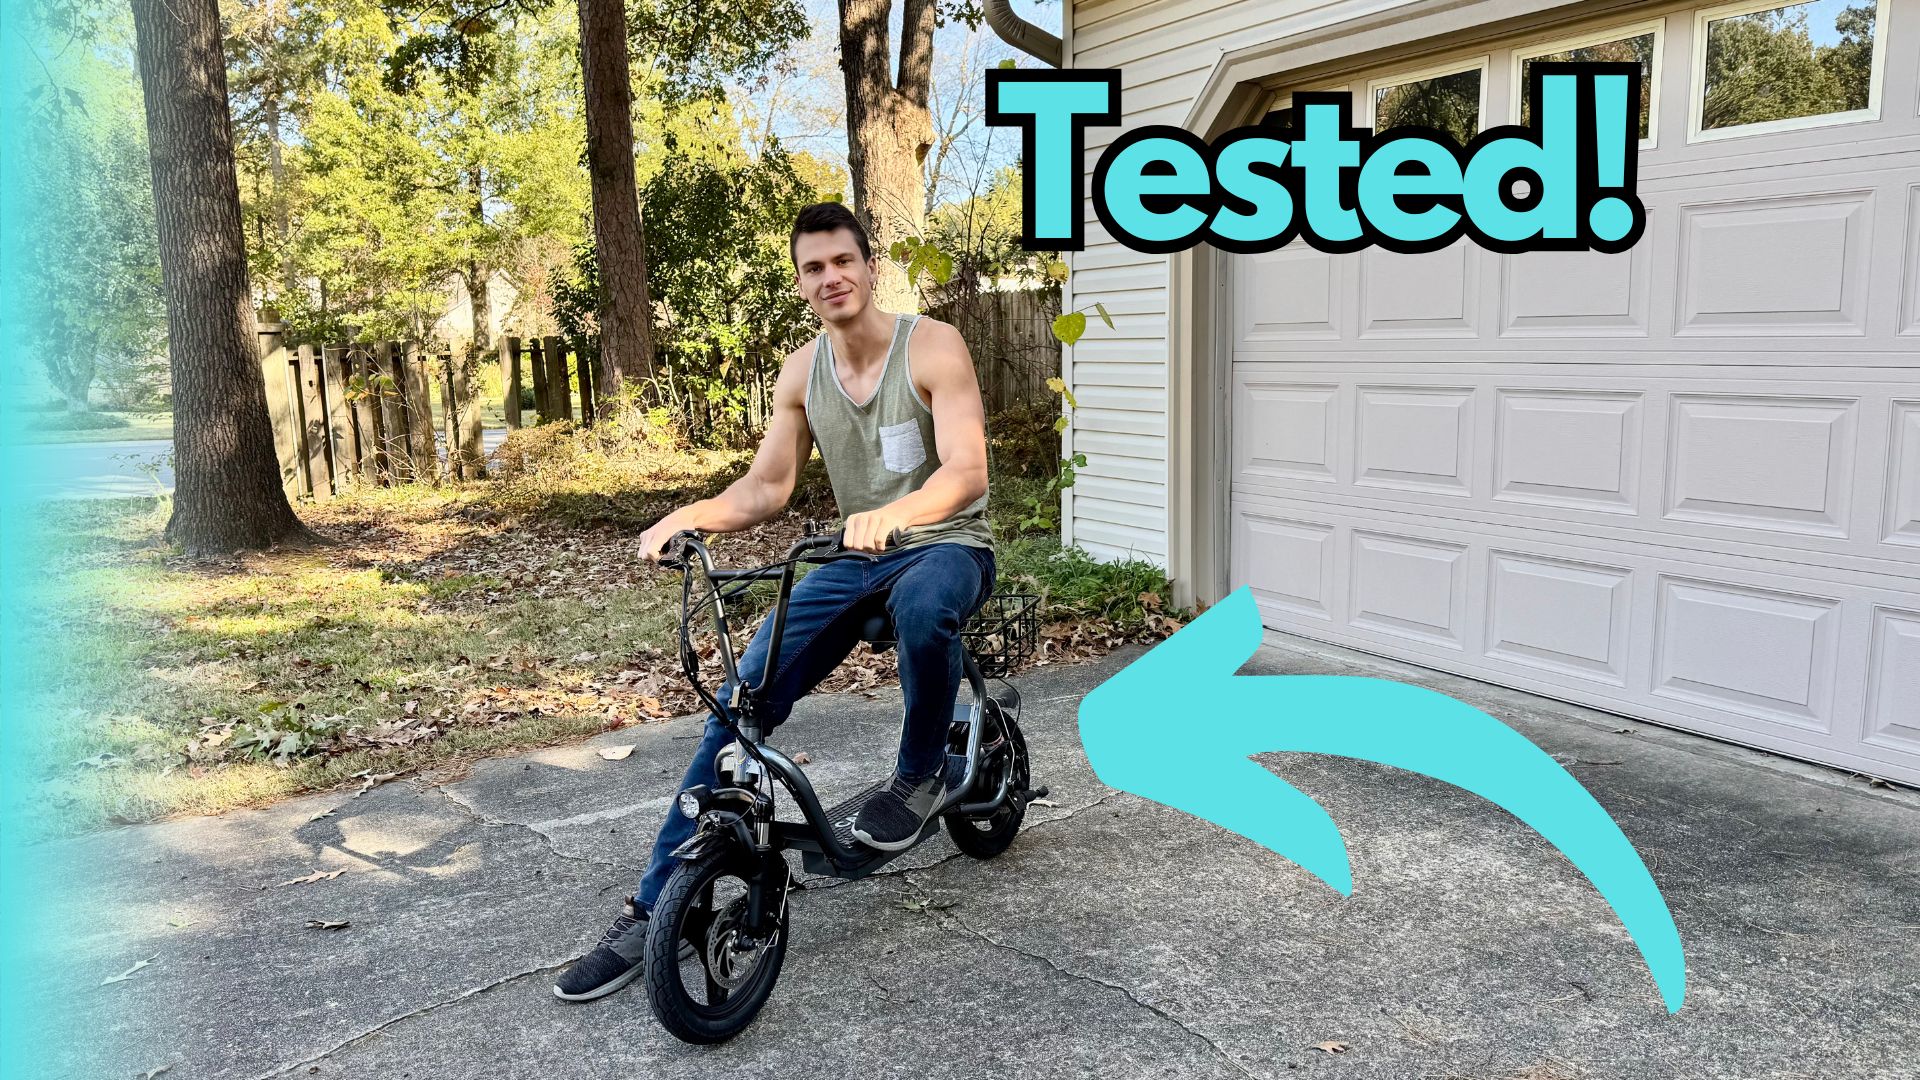
Figure 3: Charging Port and Ignition Key (Illustrative)
6. Maintenance
- Paqijî: Scooterê bi reklamê paqij bikeamp qumaş. Avê bi zexta bilind bikar neynin û skuterê di nav avê de nehêlin.
- Tires: Regularly check tire pressure and inflate as needed. Inspect tires for wear and tear.
- Brakes: Periodically check brake pads and cables for wear. Adjust brake tension to ensure responsive braking.
- Lênêrîna Pîl: Store the scooter in a cool, dry place. If storing for extended periods, charge the battery to 50-70% and recharge every 2-3 months.
- Fasteners: Periodically check all screws, bolts, and quick-release mechanisms to ensure they are tight and secure.
7. Destpêkirin
| Pirsegirêk | Sedema gengaz | Çare |
|---|---|---|
| Scooter vênake | Battery is low or dead; Ignition key not in ON position | Charge the battery; Turn the ignition key to ON |
| Motor nayê tevlîkirin | Throttle issue; Loose connection | Check throttle for obstruction; Inspect all cable connections |
| Brakes feel loose | Brake cable tension is low; Worn brake pads | Adjust brake cable tension; Replace brake pads |
| Menzîl/leza kêmkirî | Low tire pressure; Battery degradation; Heavy load | Inflate tires to recommended PSI; Consult support for battery check; Reduce load |
8. Specifications
| Taybetî | Hûrî |
|---|---|
| Nîşan | Caroma |
| Cins | D1 (B0FSZZL7PR) |
| Hêza motorê | 800W (Rated) / 1200W (Peak) |
| Range Max | Heta 30 Mile |
| Max Speed | Up to 20 Mph |
| Tire Size | 14-inch Fat Tires |
| Pergala Braking | Du Frenên Dîskê yên Mekanîkî |
| Dardekirinî | Suspension Dual |
| Max Load | 300 lbs (136 kg) |
| Features | Foldable, Seat, Carry Basket, Headlight, Tail Light |
9. Garantî û Piştgirî
For warranty information, technical support, or service inquiries, please refer to the warranty card included with your product or visit the official Caroma webmalper. Fatûra kirîna xwe wekî delîlê kirînê biparêzin.
Caroma Store: Serdana Dikana Caroma li ser Amazonê bikin
Ask a question about this manual
Ask about setup, troubleshooting, compatibility, parts, safety, or missing instructions. Manuals+ will review the question and use this page’s manual context to help answer it.