1. Destpêk
Thank you for choosing the Hunter Fan Company Avia II Ceiling Fan. This manual provides detailed instructions for the safe installation, operation, and maintenance of your new ceiling fan. Please read all instructions carefully before beginning installation and retain this manual for future reference.

Figure 1: Hunter Avia II Ceiling Fan, 52-inch, Matte Black finish with light wood-grain blades.
The Avia II is a contemporary ceiling fan designed to enhance your living space with its soft-modern style and integrated light fixture. Its smooth rounded edges contribute to a unified and elegant appearance. This fan is equipped with a 3-speed WhisperWind reversible motor, ensuring optimal performance for both cooling in summer and circulating warm air in winter. It is ideal for large rooms such as living rooms and bedrooms.

Figure 2: Avia II Ceiling Fan installed in a spacious modern bedroom setting.
2. Agahiyên Ewlekariyê
Ji bo kêmkirina metirsiya şoka elektrîkê, agir, an birîndarbûna kesane, her gav van tedbîrên ewlehiyê yên bingehîn bişopînin:
- Berî sazkirina fanosê hemû rêwerz û agahdariyên ewlehiyê bixwînin û van rêwerzan tomar bikin.
- Divê hemû têlkirin li gorî rêziknameyên elektrîkê yên neteweyî û herêmî bin. Heke hûn bi têlan nizanin, bi elektrîkçîyekî pispor re şêwir bikin.
- Before you begin, disconnect power by turning off the circuit breakers to the fan's outlet box and associated wall switch location.
- Qutiya dergehê û avahiya piştgirîyê divê bi ewlehî hatibin sazkirin û bikaribin bi ewlehî herî kêm 35 lbs (15.9 kg) hilgirin. Tenê qutiyên dergehê yên UL Lîsteya wan bi "FOR FAN SUPPORT" hatiye nîşankirin bikar bînin.
- Do not operate the fan with damaged power cords or plugs.
- Ji danîna tiştan di rêya lûleyan de dûr bikevin.
- Piştrast bike ku fan li bilindahiyekê hatiye sazkirin ku pereyên wê bi kêmanî 7 ling (2.13 metre) ji erdê dûr in.
- Do not use the fan with a dimmer switch not specifically designed for ceiling fans.
3. Naveroka pakêtê
Bi baldarî fanosa xwe ji pakêtê veke û naverokê kontrol bike. Divê tiştên jêrîn li cem te hebin:
- Meclîsa Fan Motor
- Fan Blades (5)
- Remote Control bi Pîl
- Downrod (4 inch)
- Kanopî û Braketa Montajê
- Meclîsa Kit Light
- Pakêta Amûrên Bikaranînê (vîd, şûşe, gwîzên têl, û hwd.)

Figure 3: Included handheld remote control for the Avia II Ceiling Fan.
4. Sazkirin û Sazkirin
4.1 Pêş-Sazkirin
- Piştrast bikin ku elektrîk li qutiya çerxê qut bûye.
- Verify that the chosen installation location has a suitable, UL Listed outlet box capable of supporting the fan's weight.
- Gather all necessary tools: Phillips screwdriver, flat-blade screwdriver, wire strippers, electrical tape, ladder.
4.2 Sazkirina Fanê
- Attach the mounting bracket to the outlet box using the screws provided with the outlet box. Ensure it is securely fastened.
- Assemble the downrod to the fan motor assembly, feeding the wires through the downrod.
- Carefully lift the fan assembly and hang it from the mounting bracket using the hanger ball.

Figure 4: Recommended downrod lengths based on ceiling height for optimal air circulation.
4.3 Têlkirin
Connect the fan's electrical wires to the household wiring according to the wiring diagram provided in the separate installation guide (not included in this manual). Typically, this involves connecting the ground wire, neutral wire, and hot wire(s) using wire nuts. Ensure all connections are secure.
4.4 Girêdana Tîr û Kîta Ronahiyê
- Attach the fan blades to the motor housing using the provided screws. Ensure all screws are tightened securely.
- Connect the light kit wires to the fan motor wires as instructed.
- Secure the light kit assembly to the fan motor housing.
- Install the light cover/diffuser.

Figure 5: Close-up of the integrated LED light fixture.

Figure 6: Detail of the fan blade texture and attachment.
5. Telîmatên Operating
5.1 Operasyona Kontrola Dûr
Your Avia II ceiling fan comes with a handheld remote control for convenient operation. Ensure the battery is correctly installed in the remote.
- Kontrola Leza Fan: Use the fan speed buttons (typically up/down arrows or numbered buttons) to cycle through the 3 available fan speeds (low, medium, high).
- Kontrola Ronahî: Press the light button to turn the light on or off. Hold the light button to dim or brighten the integrated LED light.
Figure 7: Remote control functions for fan speed and light dimming.
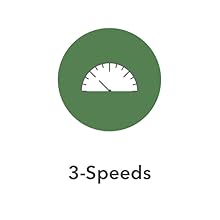

Figure 8: Icons indicating 3-speed control and WhisperWind motor technology.
5.2 Fonksiyona Motorê ya Berevajîkirî
The Avia II features a WhisperWind reversible motor, allowing you to change the direction of the fan blades for year-round comfort.
- Operasyona Havînê: In warmer weather, set the fan to rotate counter-clockwise (downward airflow). This creates a cooling breeze effect.
- Operasyona Zivistanê: In cooler weather, set the fan to rotate clockwise (upward airflow). This helps to circulate warm air trapped near the ceiling, distributing it throughout the room.
To reverse the motor direction, locate the reverse switch on the fan motor housing (usually a small slide switch). Ensure the fan is off before changing the direction.
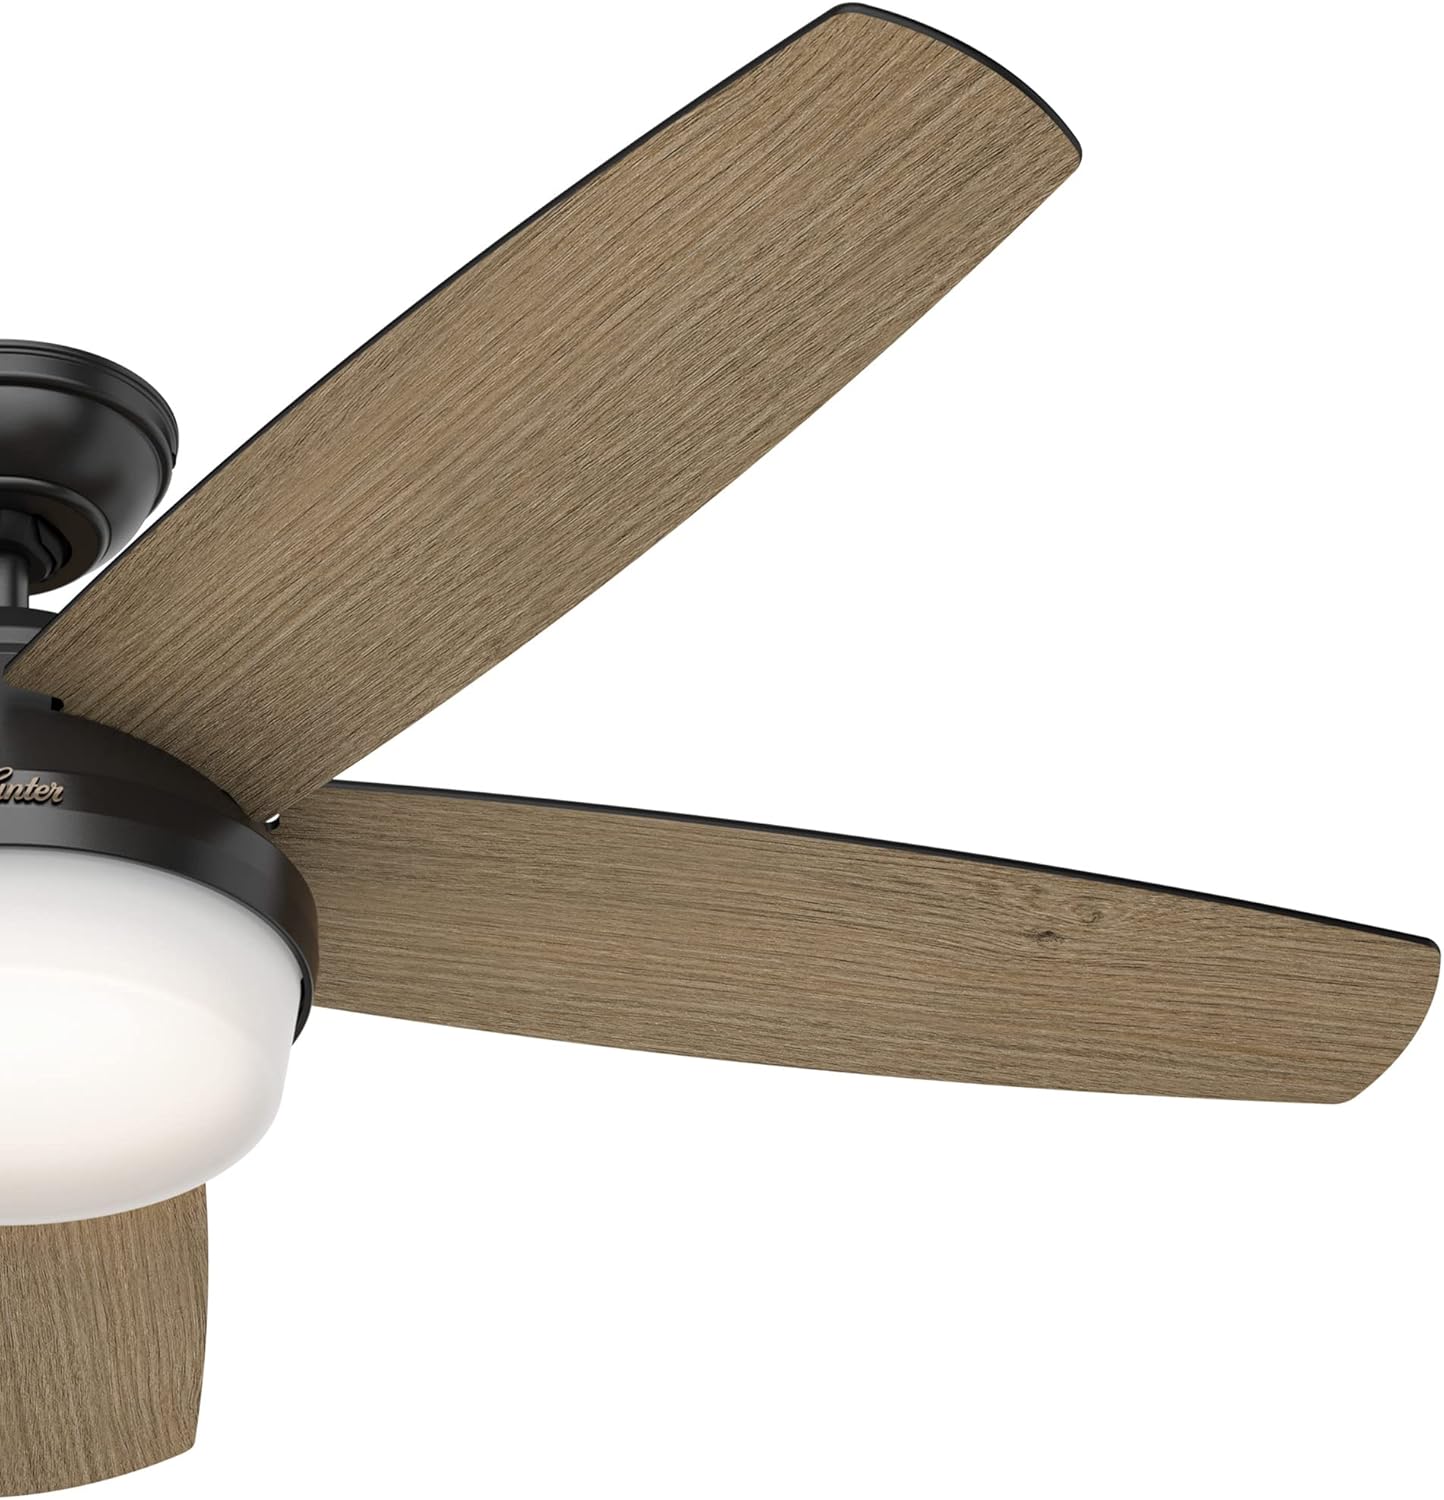
Figure 9: Fan blade angle for optimal air movement.
6. Maintenance
Regular maintenance will ensure the longevity and optimal performance of your Hunter Avia II Ceiling Fan.
- Paqijî: Ji bo paqijkirina fanosê, bi nermî paqij bikinamp cloth. Do not use abrasive cleaners or solvents, as they may damage the finish or blades.
- Paqijkirina Lezê: Dust the fan blades regularly to prevent dust buildup, which can affect balance and performance.
- Pişkên Tengkirinê: Hemû pêçên li ser fan û alavên montajê bi awayekî periyodîk kontrol bikin da ku piştrast bibin ku ew teng in. Girêdanên sist dikarin bibin sedema deng an lerizînê.
- Kit ronahiyê: The integrated LED light is designed for long life and typically does not require replacement. If issues arise, consult a qualified electrician or Hunter customer support.
7. Destpêkirin
If you experience issues with your fan, refer to the following troubleshooting guide:
| Pirsegirêk | Sedema gengaz | Çare |
|---|---|---|
| Fan dê dest pê neke | Ceyran nagihîje fanê; Girêdanên têlan sist in; Pîla kontrolê ya ji dûr ve xilas bûye. | Sîkkera devreyê kontrol bike; Piştrast bike ku hemû girêdanên têlan ewle ne; Pîla kontrola dûr biguherîne. |
| Fan dihejîne | Vîdên kêrên sist; Kêrên nehevseng; Qutiya montajê ya sist. | Hemû pêçên kêran bişidînin; Ji bo hevsengkirina kêran kîteke hevsengiyê bikar bînin (nayê tê de); Piştrast bikin ku braketa montajê bi ewlehî hatiye girêdan. |
| Ronahî naxebite | Loose wire connections in light kit; Faulty LED module. | Check light kit wiring connections; Contact Hunter customer support if LED module is suspected faulty. |
| Operasyona bi deng | Loose screws; Fan not level; Motor hum. | Check and tighten all screws; Ensure fan is level; A slight motor hum is normal, but excessive noise may indicate an issue. |
8. Specifications
Detailed specifications for the Hunter Avia II Ceiling Fan (Model 59593):
| Taybetî | Hûrî |
|---|---|
| Nîşan | Neçirvan |
| Navê Model | Avia II |
| Hejmara Model | 59593 |
| Mezinayî | 52 inches |
| Reng | Black Matte |
| Tîpa Dawî | Brushed Nickel, Matte Black |
| Hejmara Blades | 5 |
| Material Blade | Pîlastîk |
| Type Motor | Motora AC (WhisperWind Berevajîkirî) |
| Hejmara Astên Hêzê | 3 (Speeds) |
| Rêbaza Kontrolê | Remote Control |
| Tîpa Ronahî | LED a entegre |
| Ronahî Flux | 800 Lumen |
| Germahiya Rengê | 3000 Kelvin |
| Wattage | 40 watt |
| Voltage | 120 Volt |
| Çavkaniya Hêzê | AC |
| Bikaranîna hundur / Derveyî | Indoor |
| Babetê Weight | 19.62 Pound |
| Mezinahiya Hilberê | 52 x 52 x 14.75 inches |
| Pêkhateyên Tê de | Blades, Motor, Remote |
| Batteries Included? | Erê |
| Tîpa Hucreya Pîl | Alkaline |
| Dîroka Yekem Berdest | 28ê Adarê, 2022 |
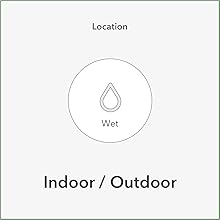

Figure 10: Indoor usage icon and fan size selection guide.
9. Garantî û Piştgirî
9.1 Agahî Garantî
The Hunter Avia II Ceiling Fan comes with a limited lifetime motor warranty. This warranty is backed by Hunter Fan Company, a leader in the fan business with over 135 years of experience, ensuring innovation, style, and expertise in every product they make.

Figure 11: Hunter Fan Company's commitment to quality and heritage.
9.2 Piştgiriya Mişterî
For technical assistance, troubleshooting beyond this manual, or warranty claims, please contact Hunter Fan Company customer support. Refer to the contact information provided with your product packaging or visit the official Hunter Fan Company webmalper ji bo hûrguliyên piştgiriyê yên herî dawî.