1. Hilbera Serîview
The ANENG Q1 is a 9999 counts True RMS digital multimeter designed for accurate measurement of various electrical parameters. It features an EBTN black screen with a large, backlit LCD for clear readability in diverse lighting conditions. This device supports both automatic and manual ranging, offering flexibility for different measurement needs. It includes an analog bar graph display for quick visual indication of readings.
Taybetmendiyên sereke:
- Pîvana RMS ya Rast: Ji bo şêweyên pêlên ne-sînusoîdal xwendinên rast peyda dike.
- NCV (No-Têkilî Voltage) Tesbîtkirin: For safe identification of live wires without direct contact.
- Auto/Manual Ranging: User-selectable measurement range for convenience and precision.
- Analog Bar Graph: Visual representation of measurement trends.
- Large Backlit LCD: Dîtbarîyeke baştir di hawîrdorên ronahiya kêm de.
- Parastina Zêdebar: Ensures safety across all measurement ranges.
- Nîşana Pîlê Kêm: Dema ku guhertina bateriyê hewce dike, hişyar dike.
- Fonksiyona hilgirtina daneyê: Ji bo tomarkirina hêsan xwendina nîşankirî cemidîne.
- Hêza Xweseriya Xweber: Jîyana bateriyê diparêze.
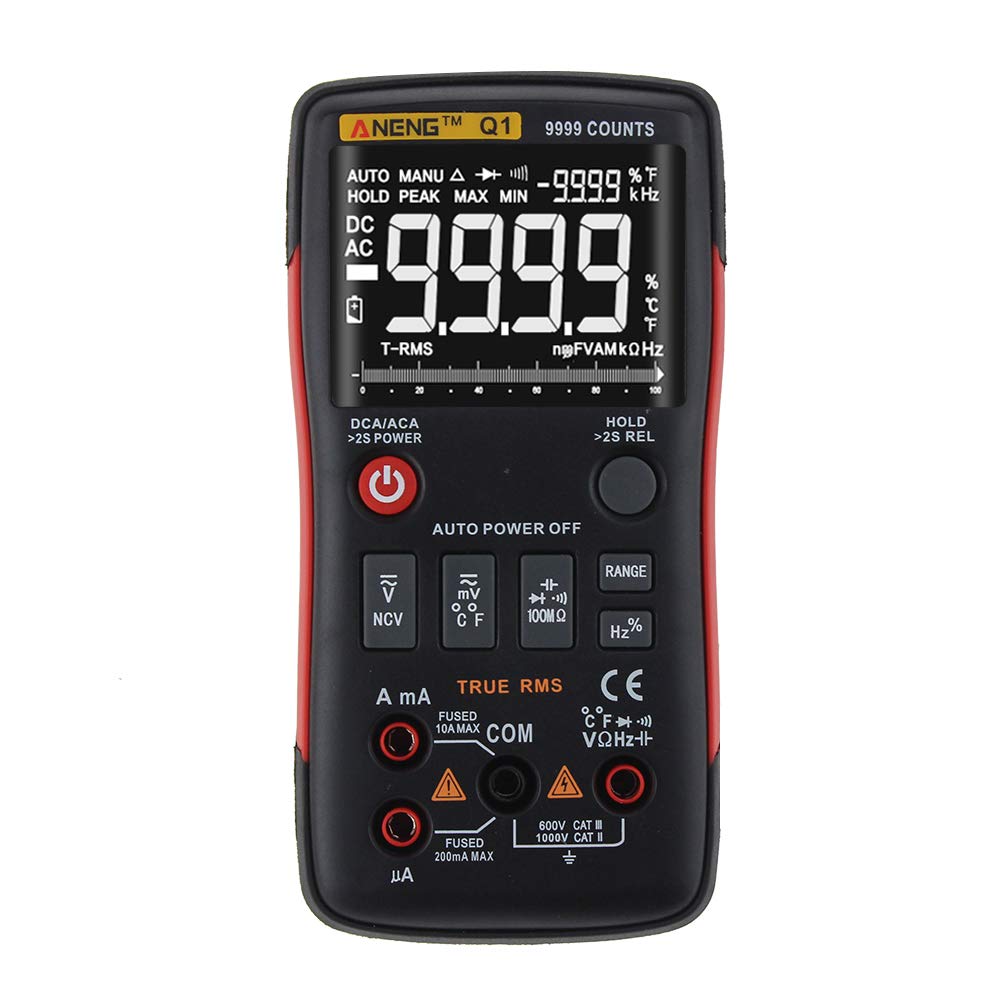
Figure 1: ANENG Q1 Digital Multimeter with its display and function buttons.
2. Agahiyên Ewlekariyê
Always observe basic safety precautions when using this multimeter to prevent personal injury or damage to the device. Read and understand all safety information before operation.
- Ji bo tu fonksiyonê nirxên têketinê yên herî zêde derbas nekin.
- Dema ku bi voltagli jor 30V AC RMS, lûtkeya 42V, an 60V DC. Ev voltages tehlûkeya şokê çêdikin.
- Before measuring current, ensure the circuit is de-energized and the multimeter is connected in series.
- Always disconnect test leads from the circuit before changing functions.
- Berî bikaranînê, têlên ceribandinê ji bo îzolasyona zirardar an jî metala tazî kontrol bikin. Ger zirar dîtibin biguherînin.
- Do not operate the multimeter if the battery cover is not properly closed.
- Dema ku nîşana pîlê kêm xuya bibe, tavilê pîlan biguherînin da ku pîvandina rast were misoger kirin.
- Li gorî kodên ewlehiya herêmî û neteweyî tevbigerin.
3. Sazkirin
3.1 Sazkirina Pîl
- Piştrast bikin ku multimeter ji elektrîkê veqetandî ye.
- Cihê beşa pîlê li ser pişta cîhazê bibînin.
- Qapaxa beşa pîlê vekin û jê rakin.
- Insert two 1.5V AA batteries, observing the correct polarity (+/-).
- Cûreya bataryayê biguherînin û wê bi kulmê ewle bikin.
3.2 Girêdana Serên Testê
The multimeter comes with a set of test leads. Always connect the black lead to the 'COM' (Common) jack. Connect the red lead to the appropriate input jack based on the measurement function:
- VΩHz+ jack ji bo Voltage, Resistance, Frequency, Capacitance, Diode, and Continuity measurements.
- mA jack for current measurements up to 999.9mA.
- 10A jack for current measurements up to 10A.

Figure 2: Included test leads and probes.

Figure 3: Complete ANENG Q1 Multimeter kit with accessories.
4. Telîmatên Operating
The ANENG Q1 multimeter offers both automatic and manual ranging. Press the 'RANGE' button to switch between auto and manual modes. In manual mode, press 'RANGE' repeatedly to cycle through available ranges.
4.1 Power On / Off
Press the red power button to turn the multimeter on or off. The device features an auto power-off function to conserve battery life after a period of inactivity.
4.2 Pîvandina AC/DC Voltage (V)
- Connect the black test lead to the 'COM' jack and the red test lead to the 'VΩHz+' jack.
- Hilbijêre voltage measurement function (AC V or DC V) using the function button.
- Connect the test probes in parallel across the circuit or component to be measured.
- Bergê bixwînetage nirx li ser ekranê.
4.3 Measuring AC/DC Current (A/mA/µA)
- Giring: Ensure the circuit is de-energized before connecting the multimeter for current measurement.
- Connect the black test lead to the 'COM' jack. Connect the red test lead to the 'mA' jack for currents up to 999.9mA, or to the '10A' jack for currents up to 10A.
- Select the current measurement function (AC A or DC A).
- Open the circuit and connect the multimeter in series with the load.
- Çerxê ji nû ve enerjî bidinê û nirxa herikê li ser ekranê bixwînin.
4.4 Pîvandina Berxwedanê (Ω)
- Connect the black test lead to 'COM' and the red test lead to 'VΩHz+'.
- Select the resistance measurement function.
- Berî pîvandina berxwedanê, piştrast bikin ku çerx an jî pêkhate bê enerjî ye.
- Probên ceribandinê li seranserê pêkhateyê ve girêdin.
- Li ser dîmenderê nirxa berxwedanê bixwînin.
4.5 Measuring Capacitance (F)
- Connect the black test lead to 'COM' and the red test lead to 'VΩHz+'.
- Select the capacitance measurement function.
- Ji bo rêgirtina li zirara multimetreyê, berî pîvandinê piştrast bikin ku kondensator bi tevahî hatiye valakirin.
- Probên ceribandinê li ser termînalên kondansatorê ve girêdin.
- Nirxa kapasîteya li ser dîmenderê bixwînin.
4.6 Measuring Frequency (Hz) and Duty Cycle (%)
- Connect the black test lead to 'COM' and the red test lead to 'VΩHz+'.
- Select the frequency/duty cycle measurement function.
- Probên ceribandinê li ser çavkaniya sînyalê ve girêdin.
- Nirxa frekansê an jî çerxa erkê li ser ekranê bixwîne.
4.7 Measuring Temperature (°C/°F)
- Connect the temperature probe to the appropriate input jacks (usually 'COM' and 'VΩHz+' or dedicated temperature jacks if available).
- Select the temperature measurement function.
- Serê sonda germahiyê li ser an jî nêzîkî tiştê ku germahiya wê were pîvandin deynin.
- Nirxa germahiyê li ser ekranê bixwînin.
4.8 Test Diode
- Connect the black test lead to 'COM' and the red test lead to 'VΩHz+'.
- Select the diode test function.
- Proba sor bi anodê û proba reş jî bi katoda dîyodê ve girêbide.
- Dîmender dê voltaja pêş nîşan bide.tage drop. Reverse the probes; an open circuit (OL) indicates a good diode.
4.9 Testa Berdewamî
- Connect the black test lead to 'COM' and the red test lead to 'VΩHz+'.
- Fonksiyona testa domdariyê hilbijêrin.
- Probên ceribandinê li seranserê devreyê an jî pêkhateyê ve girêdin.
- A continuous beep indicates a low resistance path (continuity).
4.10 NCV (Vejeya Bê-Têkilîtage) Tespîtkirin
- Select the NCV function.
- Bring the top of the multimeter close to the conductor or outlet.
- Amûr dê hebûna voltaja AC nîşan bide.tage through an audible alarm and/or visual indicator.
5. Maintenance
5.1 Paqijkirin
Dozê bi reklamê paqij bikeamp qumaş û deterjanek nerm bikar neynin. Materyalên aşınker an çareserkeran bikar neynin. Berî karanînê piştrast bikin ku cîhaz bi tevahî hişk e.
5.2 Storage
When not in use for extended periods, remove the batteries to prevent leakage. Store the multimeter in a cool, dry place, away from direct sunlight and extreme temperatures. The recommended storage conditions are -20°C to 60°C (-4°F to 140°F) with humidity less than 80% RH.
6. Destpêkirin
- Nîşanek tune: Cihê bateriyê kontrol bike û piştrast be ku bateri neqediyane. Ger pêwîst be biguherîne.
- Xwendinên nerast: Verify that the correct function and range are selected. Ensure test leads are properly connected and not damaged. Check battery level.
- 'OL' (Overload) Display: The measured value exceeds the selected range or the maximum input limit. Switch to a higher range or ensure the input is within the device's specifications.
- Dengê Berdewamiyê Tune ye: Check if the circuit is truly continuous and has very low resistance. Ensure test leads are making good contact.
7. Specifications
7.1 Specifications Elektrîkê

Figure 4: Electrical Specifications - DC and AC Voltage.

Figure 5: Electrical Specifications - DC and AC Current, and Resistance.

Figure 6: Electrical Specifications - Capacitance, Frequency, and Duty Cycle.

Figure 7: Electrical Specifications - Temperature, Diode, Continuity, and NCV.
7.2 General, Mechanical, and Environmental Specifications

Figure 8: General, Mechanical, and Environmental Specifications.
| Parametre | Giranî |
|---|---|
| Pêşkêşî | LCDya 9999 hejmartinê |
| Ranging | Auto / Manual |
| Mal | ABS + TPE |
| Rêjeya Nûvekirin | 3 Car / Duyemîn |
| RMS rast | Erê |
| Data Hold | Erê |
| Backlight | Erê |
| Nîşana Battery Low | Erê |
| Auto Power Off | Erê |
| Parametre | Giranî |
|---|---|
| Ebat | 146*74*34mm |
| Pîvan | 125 g |
| Cureyê Pîl | 2 x 1.5V AA Battery (not included) |
| Parametre | Giranî |
|---|---|
| Germahiya xebitandinê | 0~40°C |
| Humidity Operating | <75% RH |
| Germahiya Storage | -20~60°C |
| Storage Humidity | <80% RH |
8. Garantî û Piştgirî
8.1 Garantî
This ANENG Q1 Digital Multimeter comes with a garantiya yek-salî from the date of purchase, covering manufacturing defects. This warranty does not cover damage caused by misuse, accident, unauthorized modification, or normal wear and tear. Please retain your proof of purchase for warranty claims.
8.2 Piştgiriya Mişterî
For technical assistance, troubleshooting, or warranty inquiries, please contact the retailer or manufacturer's customer service. Refer to your purchase documentation for specific contact details.