1. Destpêk
This manual provides essential instructions for the safe and efficient operation of your Sharp CD-DH950P 240W Mini-Component System. This system features a 5-disc CD changer, a cassette deck, an iPod/iPhone docking station, a USB host for digital audio playback, and an AM/FM tuner. Please read this manual thoroughly before using the system and retain it for future reference.
2. Agahiyên Ewlekariyê
- Çavkaniya hêzê: Connect the unit only to an AC outlet of the specified voltage.
- Perwanekirin: Hewakirina têr peyda bike. Deriyên hewakirinê negirin.
- Av û Nem: Amûrê li ber baran, şilbûn, an şilavên diherikin/dirijin nehêlin.
- Germa: Amûrê ji çavkaniyên germê yên wekî radyator, tomarên germê, sobe, an amûrên din ên ku germê çêdikin dûr bigirin.
- Paqijî: Unplug the unit from the wall outlet before cleaning. Use a soft, dry cloth.
- Xizmetkirin: Hewl nedin ku hûn vê hilberê bixwe xizmet bikin. Hemî servîskirinê bişînin karmendên karûbarê jêhatî.
3. Naveroka pakêtê
Piştrast bikin ku pakêta we tiştên jêrîn dihewîne:
- Main Unit (CD-DH950P)
- Axaftvana Çep
- Axaftvana rast
- Remote Control bi Batteries
- AM Loop Antenna
- FM Wire Antenna
- Cord Power
4. Sazkirin
4.1 Girêdana Axaftvanan
Connect the speaker wires from the main unit to the corresponding terminals on the back of each speaker. Ensure correct polarity (red to red, black to black) for optimal sound quality. The left speaker connects to the left speaker output, and the right speaker to the right speaker output.
4.2 Connecting the Antennas
- Antena FM: Connect the supplied FM wire antenna to the FM antenna terminal on the rear of the main unit. Extend the wire for better reception.
- AM Antenna: Connect the supplied AM loop antenna to the AM antenna terminals on the rear of the main unit. Position the antenna for best reception.
4.3 Girêdana Hêzê
Plug the power cord into the AC IN jack on the rear of the main unit, then plug the other end into a standard AC wall outlet.
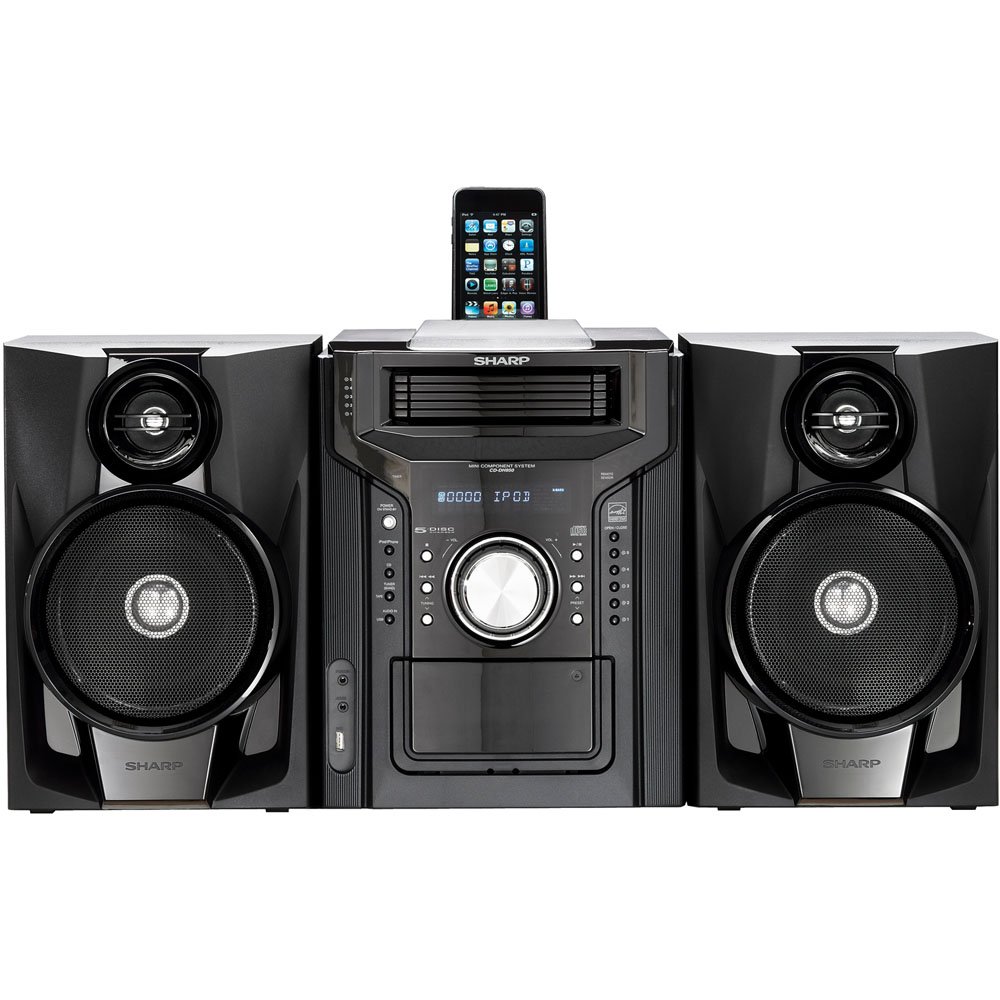
Wêne 4.3.1: Bi giştî view of the Sharp CD-DH950P Mini-Component System, showing the main unit flanked by two speakers, with an iPhone docked on top of the main unit.
5. Telîmatên Operating
5.1 Vekirin/Girtin û Kontrola Deng
- Bitikîne ERK bişkoja li ser panela pêşiyê an jî li ser kontrola ji dûr ve ji bo vemirandin an vekirinê ya cîhazê bikirtînin.
- Bizivirîne BEND bişkoka li ser panela pêşiyê bikirtînin an jî bi kar bînin VOL +/- bişkokên li ser dûrve kontrolê ji bo verastkirina asta deng.
5.2 Playback CD
This system features a 5-disc CD changer.
- Bitikîne VEKIRIN/GIRTIN bişkojka vekirina tepsiya CD.
- Place up to five CDs on the disc trays, label side up.
- Rojnamevanî VEKIRIN/GIRTIN dîsa ji bo girtina tepsiyê.
- Bitikîne CD button to select the CD function.
- Bitikîne LÊZIN / PAUSE bişkojka ku dest bi lêdanê bike.
- Bi kar tînin HILPERKÎN buttons to navigate between tracks or discs.
5.3 Cassette Deck Operation
- Bitikîne TAPE OPEN/CLOSE button to open the cassette deck.
- Kasetek têxinê.
- Bitikîne LEZAQ button to select the cassette function.
- Rojnamevanî BAZÎ ji bo destpêkirina lîstikê.
- To record, ensure the source is selected (e.g., CD, Tuner) and press the REKOR button on the cassette deck.
5.4 iPod/iPhone Docking
The system includes a top-mounted docking slot for compatible iPod and iPhone devices (30-pin connector).
- Carefully place your iPod or iPhone into the docking slot.
- The system will automatically switch to iPod/iPhone mode or you may need to press the iPod / iPhone pişkov.
- Use the system's controls or your device's controls to play music. The device will also charge while docked.
5.5 USB Host Playback
Connect a USB storage device containing MP3 or WMA audio files to the USB port on the front panel.
- Amûra USB-ê têxe porta USB-ê.
- Bitikîne USB button to select the USB function.
- Use the playback controls to navigate and play files.
Tunera 5.6 AM/FM
- Bitikîne TUNER button to select AM or FM radio.
- Bi kar tînin TUNING +/- bişkokan ji bo ku bi destan li stasyonekê bigerî.
- To auto-scan, press and hold the TUNING +/- bişkokên.
- To store a preset, tune to the desired station, then press BÎR followed by a preset number.
5.7 Input Audio
Connect an external audio device (e.g., MP3 player, smartphone) to the AUDIO IN jack on the front panel using a 3.5mm stereo cable.
- Connect your device to the AUDIO IN jack.
- Bitikîne AUDIO IN button to select this source.
- Ji cîhaza xwe ya girêdayî lêdanê kontrol bikin.
6. Maintenance
6.1 Paqijkirina Yekîneyê
Wipe the exterior of the unit with a soft, dry cloth. Do not use abrasive cleaners, waxes, or solvents. Ensure the unit is unplugged before cleaning.
6.2 CD and Cassette Care
- Handle CDs by their edges to avoid fingerprints and scratches. Clean discs with a soft, lint-free cloth from the center outwards.
- Store cassette tapes away from strong magnetic fields and direct sunlight.
7. Destpêkirin
| Pirsegirêk | Sedema gengaz | Çare |
|---|---|---|
| Hêz tune | Kabloya elektrîkê ne girêdayî ye; priza elektrîkê xera ye | Piştrast bike ku kabloya elektrîkê bi ewlehî ve girêdayî ye; prizek cûda biceribîne |
| Deng tune | Volume too low; Speakers not connected; Incorrect source selected | Increase volume; Check speaker connections; Select correct input source |
| CD nalîze | Disc inserted incorrectly; Disc is dirty or scratched | Insert disc correctly (label side up); Clean or replace disc |
| Resepsiyona radyoyê ya xerab | Antenna not positioned correctly; Weak signal | Adjust position of AM/FM antennas; Try auto-tuning or manual fine-tuning |
| iPod/iPhone not charging/playing | Device not properly docked; Device not compatible (e.g., newer connector) | Re-dock the device; Note that this system uses a 30-pin connector, newer devices may require an adapter (not included) |
8. Specifications
- Nîşan: Tûj
- Cins: CD-DH950P
- Tevahiya Hêza Hilberanê: 240 Watts RMS (85W/ch FTC)
- Veavakirina Axaftvan: 2.1 Kanal
- Formatên Dengê piştgirî: CD, MP3, WMA
- Rêjeya îşaret-bi-deng: 100 dB
- Amûrên Lihevhatî: MP3 Player, Smartphone (via 30-pin dock or USB/Audio In)
- Pîvan (L x W x H): 27.6 x 13.6 x 13.5 inches
- Giraniya Babetê: 24.4 Pound
- UPC: 074000369863, 074000369290
9. Agahdariya Garantiyê
This product is covered by a 1-year limited warranty from the date of purchase. Please refer to the warranty card included with your product for full terms and conditions, or contact Sharp customer service for details.
10. Piştgirî
For further assistance, technical support, or service inquiries, please contact Sharp customer service. Contact information can typically be found on the Sharp official webmalper an jî di belgeyên ku bi hilbera we re hatine peyda kirin de.