Pêşkêş
This instruction manual provides comprehensive guidance for assembling the Revell Battleship Bismarck Plastic Model Kit, model number 80-5098. This 1:700 scale model accurately represents the historic German battleship Bismarck, featuring 295 finely detailed plastic parts. The kit is designed for model builders aged 10 and up, offering a rewarding and intricate building experience. Please read all instructions carefully before beginning assembly.
Agahiyên Ewlekariyê
- Parçeyên Piçûk: This kit contains small parts which may pose a choking hazard for young children. Keep all components out of reach of children under 3 years old.
- Adhesives and Paints: Use model glue and paints in a well-ventilated area. Avoid inhaling fumes. Follow the safety instructions provided by the manufacturers of your chosen adhesives and paints.
- Amûrên Tûj: Assembly requires the use of sharp tools such as hobby knives and sprue cutters. Exercise caution to prevent injury. Adult supervision is recommended for younger builders.
- Parastina Çav: Consider wearing eye protection when cutting or sanding plastic parts to prevent small fragments from entering the eyes.
Naveroka Kit
Your Revell Battleship Bismarck model kit includes:
- 295 finely detailed plastic parts on sprues.
- Waterslide decals for authentic markings.
- Display stand components.
- Instruction booklet (this document).
Not: Model glue and paints are ne tê de û divê cuda bên kirîn.
Damezirandin
Before beginning assembly, ensure you have a clean, well-lit workspace. Gather the following essential tools and materials:
- Plastic model cement (glue).
- Hobby knife or sprue cutters.
- Fine-grit sandpaper or sanding sticks.
- Tweezers for handling small parts.
- Model paints (acrylic or enamel, as desired).
- Paintbrushes of various sizes.
- Small dish of water for decals.
- Qumaşê paqij.
Carefully remove all parts from the box and inspect them for any damage or missing components. Familiarize yourself with the parts layout on the sprues and the overall assembly sequence outlined in the instructions.
Talîmatên Meclîsa
Follow the numbered steps in the instruction diagram. Dry-fit parts before applying glue to ensure proper alignment. Use a small amount of glue to avoid excess.
Vîdyo: Berhem Bi Dawî Bûview and Initial Assembly Steps. This video demonstrates the unboxing of the Revell Battleship Bismarck model kit and shows initial steps of cutting parts from the sprue and dry-fitting components, providing a visual guide for starting your build.
1. Hull Assembly
Begin by joining the two halves of the hull. Ensure a tight fit and use clamps or tape to hold them together while the glue dries. Attach the rudder and propellers to the stern section.

Image: Stern Assembly. This image illustrates the detailed stern section of the model, including the propellers and rudder, which are attached during the initial hull assembly phase.
2. Deck and Superstructure
Attach the main deck sections to the hull. Proceed with assembling the various levels of the superstructure. Pay close attention to the alignment of each section to ensure a straight and stable build.

Image: Midship Deck Details. This image highlights the complex midship area, including the crane, various small boats, and other deck-mounted equipment, which are added to the superstructure.
3. Main Armament and Secondary Guns
Assemble the main gun turrets and secondary armament. The kit features moving gun turrets and barrels, allowing for dynamic posing. Carefully attach these to their designated positions on the deck and superstructure.

Image: Main Gun Turrets. This close-up shows the assembly of the primary gun turrets, emphasizing the detail in their construction and how they integrate with the ship's deck.
4. Aircraft and Small Details
Assemble the two Arado 196 seaplanes and attach them to the catapults. Add other small details such as masts, railings, and tenders. These small parts require precision and patience.

Image: Superstructure and Aircraft. This image provides a broader view of the superstructure, including the placement of the Arado seaplanes and other fine details that complete the ship's profile.
5. Final Assembly and Display
Once all major components are assembled and glued, ensure all parts are securely attached. The model includes a display stand for presenting your finished battleship.
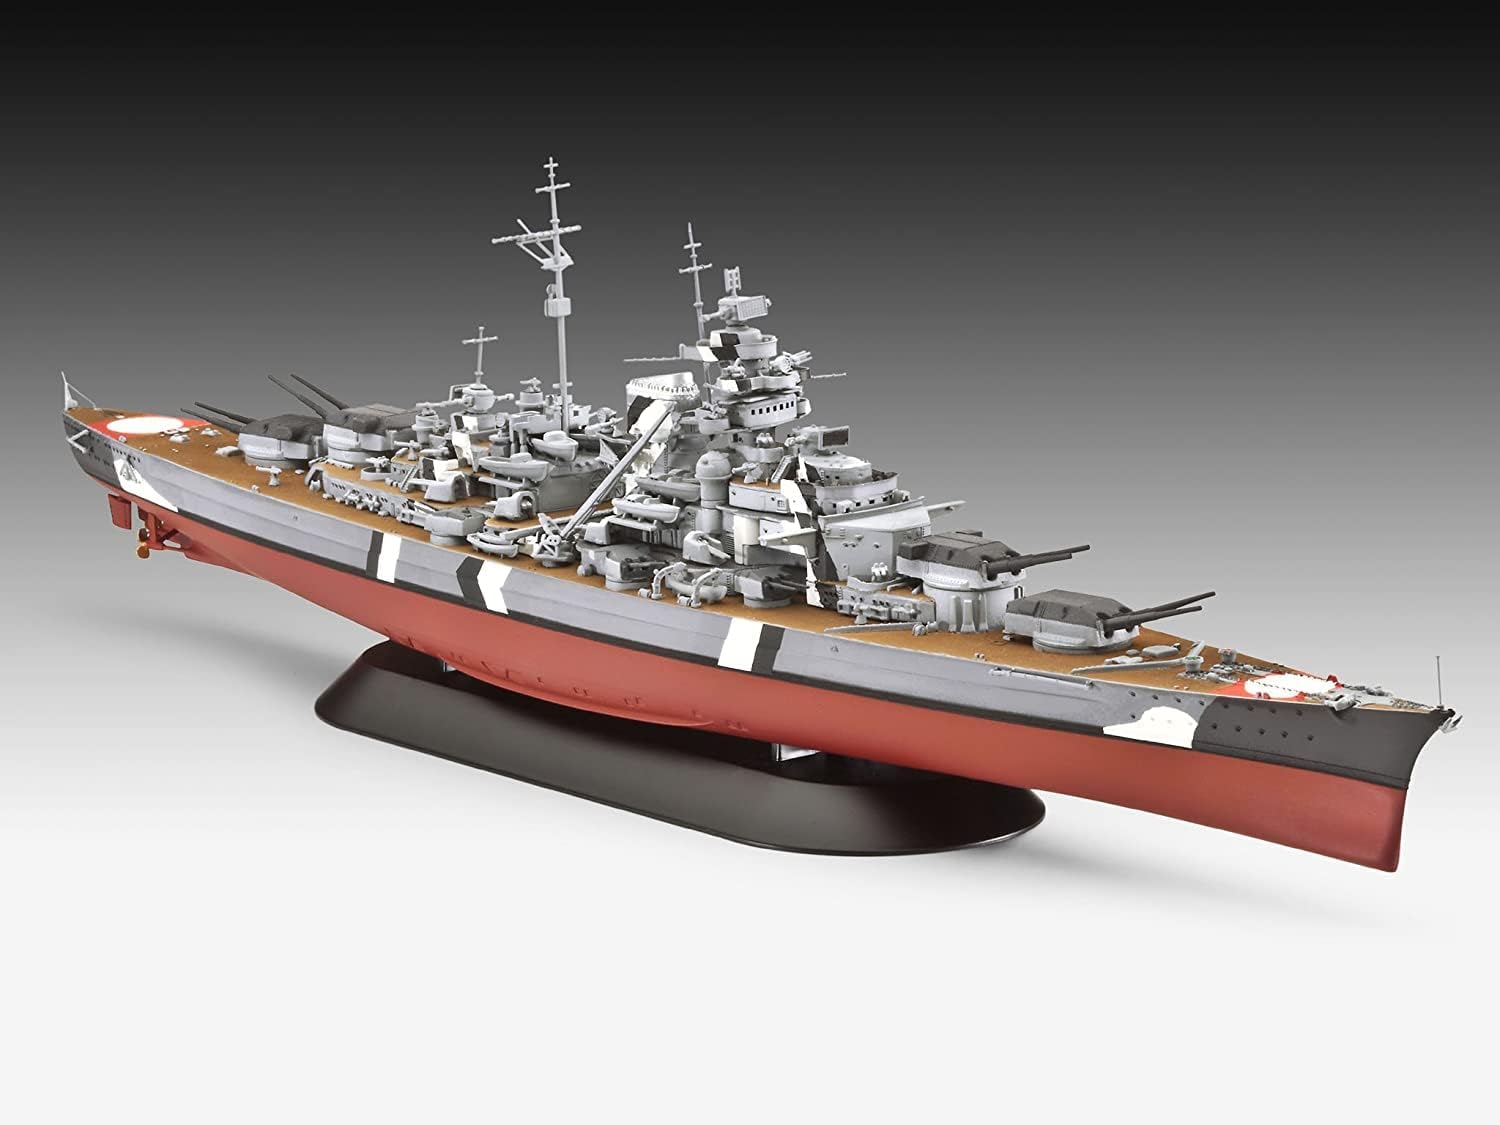
Image: Completed Model on Display. This image shows the fully assembled Battleship Bismarck model resting on its included display stand, ready for exhibition.
Painting and Decals
Painting your model adds realism and depth. Refer to historical references or the box art for color schemes. Apply paint in thin, even coats. Allow each coat to dry completely before applying the next.

Image: Painting Reference. This artwork provides an example of the Bismarck's camouflage, which can serve as a guide for painting your model.
Applying Waterslide Decals:
- Cut out the desired decal close to its edge.
- Dip the decal in lukewarm water for 10-20 seconds until it slides freely on its backing paper.
- Carefully slide the decal onto the model surface using tweezers or a paintbrush.
- Gently position the decal and blot away excess water with a soft cloth or cotton swab.
- Allow decals to dry completely before applying any clear coats.
Display and Care
Once your model is complete, place it on the included display stand. To maintain its appearance:
- Paqijkirin: Regularly dust the model with a soft, dry brush or a can of compressed air to prevent dust buildup in intricate areas.
- Dor: Display the model in a stable environment, away from direct sunlight, extreme temperatures, or high humidity, which can cause paint fading or material degradation.
- Handling: Handle the model carefully, grasping it by the hull or display stand rather than delicate parts like masts or guns.
Çareserkirina pirsgirêkan
- Parçeyên Ne Lihevhatî: If parts do not fit together smoothly, gently sand the mating surfaces. Ensure no excess plastic (flash) remains from the sprue.
- Decals Not Adhering: Ensure the surface is clean and smooth. A gloss clear coat applied before decals can help adhesion. Use decal setting solutions if necessary.
- Pirsgirêkên Boyaxkirinê: If paint appears uneven or clumpy, it may be too thick. Thin paints with appropriate thinner. Apply multiple thin coats instead of one thick coat.
- Parçeyên Wenda: Double-check the sprues and packaging. If a part is genuinely missing, refer to the warranty information for replacement options.
Specifications
| Nîşan | Revell |
| Navê Model | Battleship Bismarck Plastic Model Kit |
| Hejmara Model | 80-5098 (RV05098) |
| Scale | 1:700 |
| Hejmara Pieces | 295 |
| Cureyê materyalê | Pîlastîk |
| Temenê Pêşniyarkirî | Adult (Ages 10+) |
| Mezinahiya Babetê (L x W x H) | 14.1 x 3.7 x 2 inches (approx. 35.9 cm length) |
| Babetê Weight | 0.71 Pound |
Garantî û Piştgirî
Revell provides support for missing or defective parts. If you encounter any issues with the components of your model kit, please contact Revell customer service directly. For further assistance or inquiries, visit the official Revell website or contact their support team through the details provided on the product packaging.
Çavkaniyên Serhêl: For additional tips, techniques, and community forums, consider visiting reputable model building websites or the official Revell brand store on Amazon: Revell Store.